Do you love eating fresh kale? Learn how to grow kale from seed in your garden for a continuous harvest of this amazing vegetable!
Kale is a nutritional powerhouse, packed with vitamins and minerals that can help you stay healthy.
This site contains affiliate links. If you make a purchase using one of these links, I may earn a commission. Please see my disclosure page for more information about cookies collected and our privacy policy.
Growing kale from seed is easy to do, and it’s an excellent way to enjoy fresh, homegrown vegetables in your own backyard!
Kale is a cool weather loving crop that does best when temperatures are between 55-75F. It can tolerate some frost- sometime even down in the teens! Frost can often improve the flavor of kale.
This guide will provide all the information you need to know about how to grow kale from seed, including choosing the right variety of seeds for your climate and soil conditions as well as caring for your plants throughout their life cycle.
So let’s get started on our journey into growing this amazing vegetable!
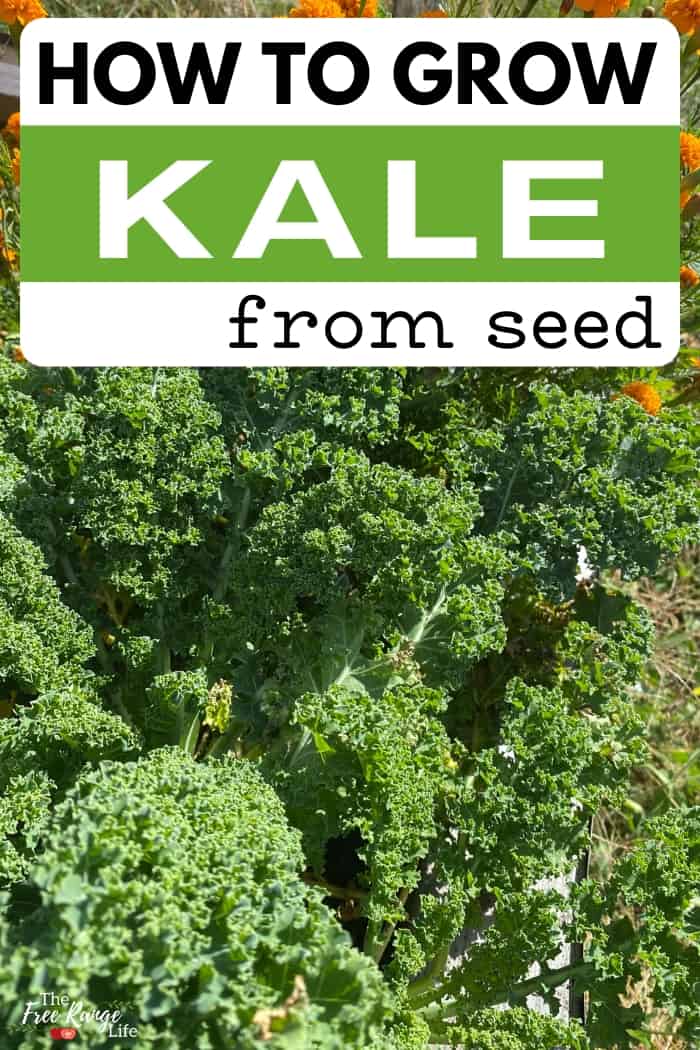
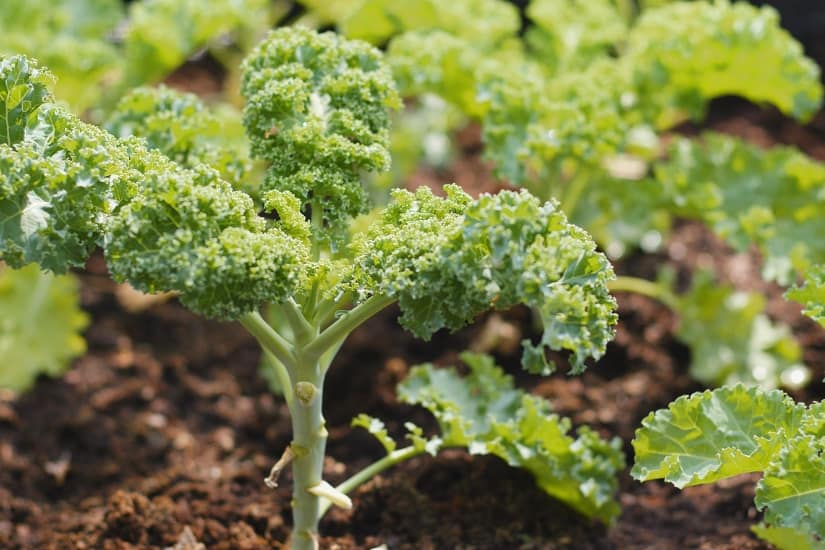
How to Grow Kale from Seed in Your Backyard Garden
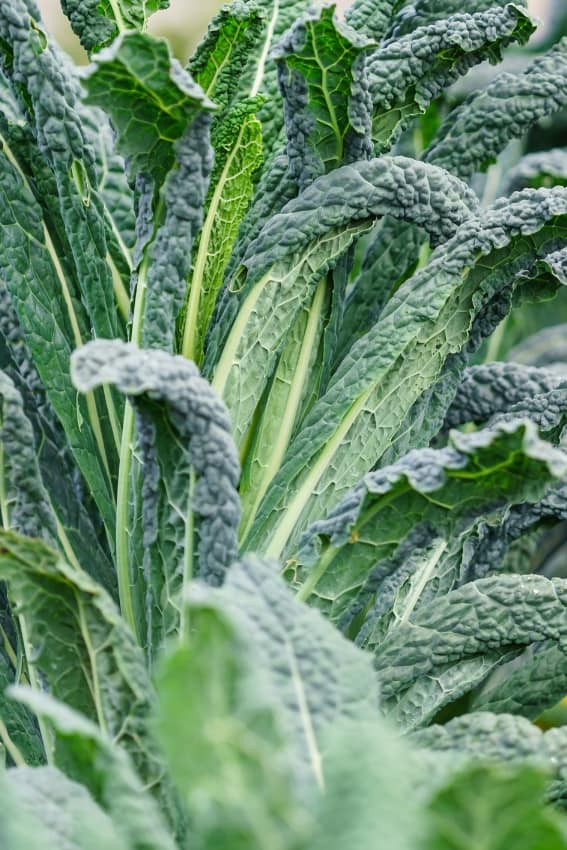
Kale Varieties to Try
There are dozens of varieties of kale available to choose from, so it’s important to find the one that works best in your climate and soil conditions.
Here are some common types of kale to try:
- Lacinato (also called Dinosaur or Tuscan kale): Lacinato kale is tolerant of both hot and cold weather, but is less winter hardy than other varieties.
- Vates Blue Curled Kale: Hardy variety that is slow to bolt.
- Red Russian: One of the more tender kale varieties, does best in cooler conditions, and gives an early crop.
How to Start Kale from Seed Indoors
I prefer to start my kale seeds indoors. It gives you a head start on the season and allows you more control over the germination of your seeds.
Starting seeds indoors also gives your plants more protection from the elements and allows them to get established without any outside stressors.
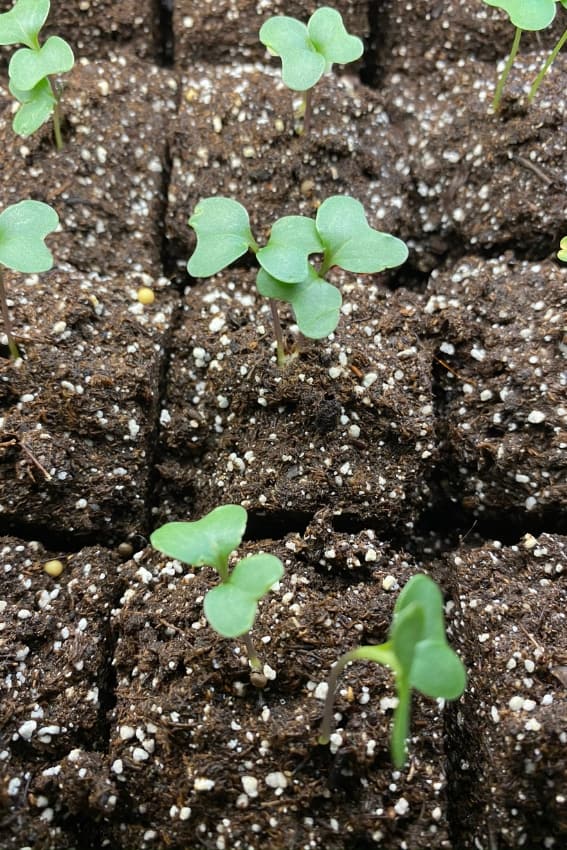
To start your kale seeds indoors, fill a seed starting tray with potting soil and water it well. You don’t want the soil sopping wet, but it should be evenly moist.
Sprinkle your kale seeds over the surface of the soil and cover them with a thin layer of additional potting soil. The seeds should be no more than ¼ inch deep.
Place your seed trays in an area that gets plenty of light, such as near a sunny window or under a grow light. Seeds should germinate within 4-7 days.
Keep the soil moist, but not saturated, as you wait for your seeds to germinate.
I prefer to use a spray bottle to water seedling while they are germinating and are very small.
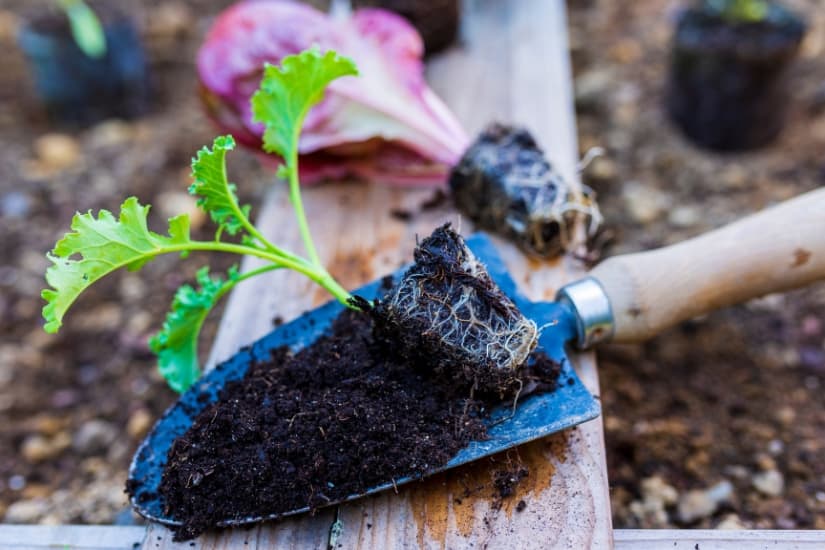
Transplanting Kale in Your Garden
You can begin transplanting your seedlings to the garden about 4-6 weeks before your last frost date.
Make sure you have hardened off your seedlings well before transplanting outside. Since kale likes cool weather, I start putting my trays outside as early as possible in the spring. Anytime the daytime temperatures are above around 50F.
Choose an area with at least 6 hours of direct sunlight each day and prepare the soil by digging in some compost, manure, or other organic matter.
Space your kale plants at least one foot apart to avoid overcrowding and allow for plenty of air flow.
If your seedlings are leggy at all, you can bury the stem up to the first leaves to help give them more stability.
Make sure their roots are completely covered with soil so that they don’t dry out.
Water your plants thoroughly right after planting, and water frequently over the first week if the weather is dry to make sure the plants get established.
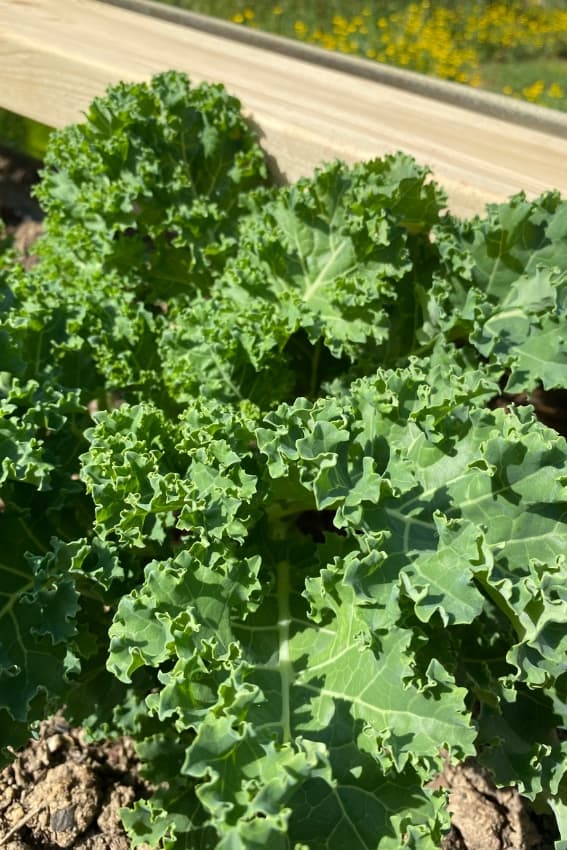
Growing Kale: Care and Maintenance
Once your kale plants are planted and established in the garden, there are a few things you can do to keep them healthy and productive.
Add a layer of mulch around the base of each plant to help retain moisture and control weeds. Mulch can also help keep the soil cooler.
Kale is a pretty hands off plant- making it perfect for busy gardeners. It doesn’t require a lot of care or upkeep. So all you have to do is plant and then harvest when it’s ready!
Remember that kale is a cool weather crop. That means once the temperatures are about 75 it won’t grow as well or it may go to seed.
Here in my zone 7a, I find that I can harvest until the weather is warm, and then I can let the plant be until fall, when it will start growing and producing again.
Kale Pests & Disease
For the most part kale is a pretty hardy crop, but it can be vulnerable to pests and disease.
Common culprits include:
- Aphids
- Caterpillars (Bt is the best for this!)
- Root knot nematodes
- Clubroot
- Downy mildew.
To prevent these problems make sure your soil is healthy (Healthy soil makes stronger plants!).
Make sure that you rotate your crops from year to year. So don’t plant your kale where you planted kale, or other brassicas, last year.
Also make sure you water your plants at the base rather than from above so that the foliage doesn’t stay wet for extended periods of time. This is the best way to prevent mildew. Here’s more on watering correctly.
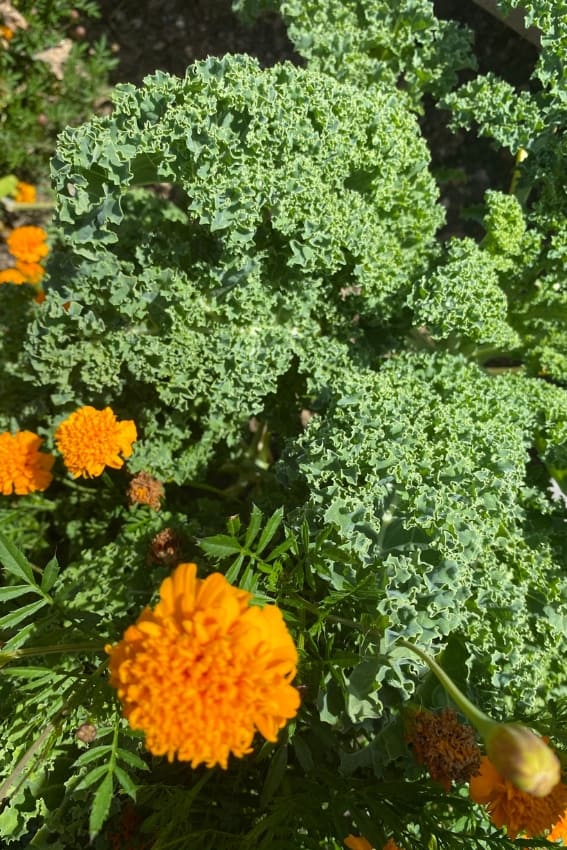
Companion planting is also a great way to deter pests. Some great companions for kale include: marigold, garlic, and onions.
Harvesting Kale
Kale is ready to harvest when the leaves are big enough to harvest and are plentiful enough to harvest some, while leaving at least a few on the plant to keep growing. (Usually about 50 days or so from planting).
Harvest the exterior leaves first, and choose leaves lower to the ground first. You can either snip them off with scissors or shears, or simply snap them off with your hand.
A good rule to follow is to never harvest more than a third of the plant at a time, though I have been known to snap all but the center growing tip and 2-3 other leaves and it works just fine.
Come back and harvest as often as you can. The more you harvest the more kale you’ll get!
Preserving Kale
What can you do with kale after you’ve harvested it? Lots of things!
Kale stores well and it will keep for several weeks in the refrigerator. I keep mine in a green bag to keep it longer.
If you have more kale than you can use right away, you can also freeze it for future use.
Simply place the washed and trimmed kale in boiling water for two minutes, then shock it in cold water to stop the cooking process.
Then drain the kale and lay it out on a baking sheet before freezing. Once frozen, transfer it to an airtight container or freezer bag.
Kale will stay fresh in the freezer for up to six months
My favorite way to preserve kale is to dry it. It takes up less space, is shelf stable, and I can add it to almost everything!
Here’s how to dry kale.
Growing kale is a great way to add some delicious greens to your garden, plus it’s so easy to grow- even beginners can master growing kale!
More growing guides for you:
Growing Peas: How to Plant, Care, and Harvest
Growing Spinach in the Garden: From Seed to Harvest