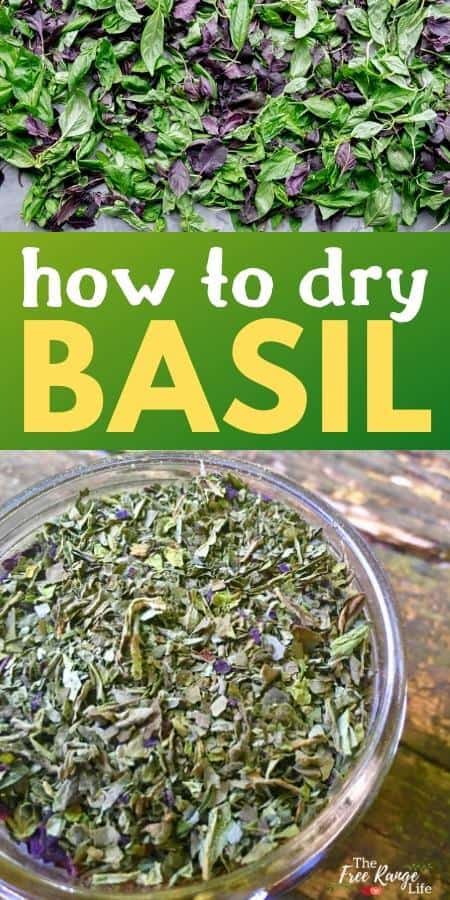
Do you have a garden full of basil? Learn how to dry basil so you can enjoy that Italian basil taste in dishes and meals all year long!
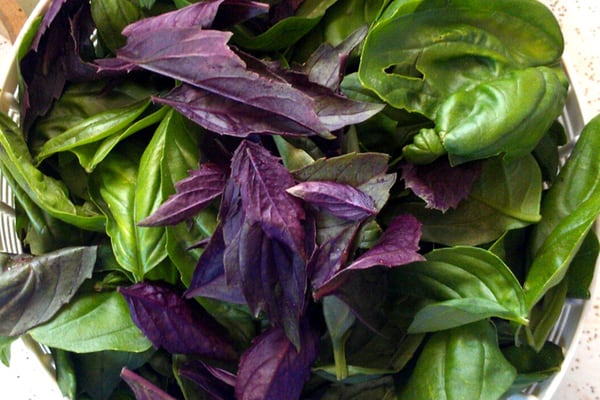
Basil is a staple in my garden every single year. I grow a lot of it, in many different varieties.
This site contains affiliate links. If you make a purchase using one of these links, I may earn a commission. Please see my disclosure page for more information about cookies collected and our privacy policy.
I use tons of it for my roasted tomato sauce each summer, but I also dry a lot to use in soups, sauces, and other dishes all winter long while the plant is mostly dormant in the garden.
So how do you dry basil? It’s super easy- so let’s get started!
A few tips before we begin:
When drying basil, you want to go from harvest to dry as quickly as possible. Fresh herbs make the best dried herbs with the most flavor.
Harvest your herbs in the sunny part of the day, after the dew has dried.
The best time to harvest basil for drying is BEFORE it flowers, that’s when the leaves are most flavorful. You can harvest basil all through your growing season, and heavily pruning (harvesting) your plants will help them produce more and prevent flower production.
Now on to how to dry basil!
✅ Ready to take control of your food source and preserve more? Check out my Food Preservation Planner to help you plan and preserve more food this year! Includes canning, freezing and dehydrating cheat sheets!
How to Dry Basil for Use All Year Long
There are a couple of different ways you can make dried basil. Such as:
- In a solar dehydrator
- Hanging (air dry)
- Electric Dehydrator
- In the oven (not recommended)
They each have their pros and cons, but my favorite way to dry basil is by using an electric dehydrator because it’s a more reliable way to get dried basil that is uniformly dry in a quicker amount of time.
Hanging and solar dehydrating basil will depend on the conditions of the space (inside or outside)- how much sun, humidity, etc. If the correct conditions aren’t there, you may end up with moldy basil before the herb is completely dry.
An oven usually doesn’t stay at a low enough temperature to evenly dry the basil- and NOT cook it. An oven is more likely to destroy all the flavor and goodness inside your basil.
Herbs need to be dried at a fairly low temperature. 105F at the MOST or the taste will suffer.
I have an Excalibur 9 Tray Food Dehydrator that I LOVE and use all summer long, but you can also check out my Dehydrator Buying Guide for other options. This dehydrator is perfect for drying herbs such as calendula, thyme, rosemary, oregano, dill and of course basil!
Drying Basil in an Electric Dehydrator
You need to start with fresh, clean herbs. Since we grow everything organic, we don’t pre-wash, but if your basil isn’t organic or if it’s been sprayed then you will need to wash it first.
Be sure to pull out any obvious weeds, grass, bugs, or eggs that you see before drying your basil.
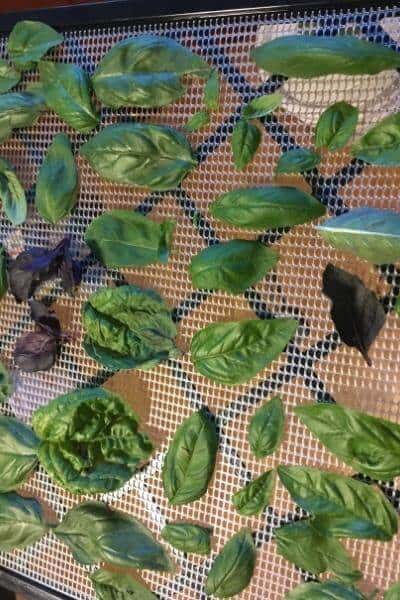
You can dry your basil either on the stem or dry the leaves individually. For basil I prefer to take the leaves off since many of the stems are thick and succulent, which will add water and make the drying process take longer.
Make sure you have a single layer of basil on your trays so the basil leaves dry evenly.
Set your dehydrator to 95-105F and close it up.
It should take 4-10 hours depending on how much basil you are drying, if you left the stems on, and the humidity in your home.
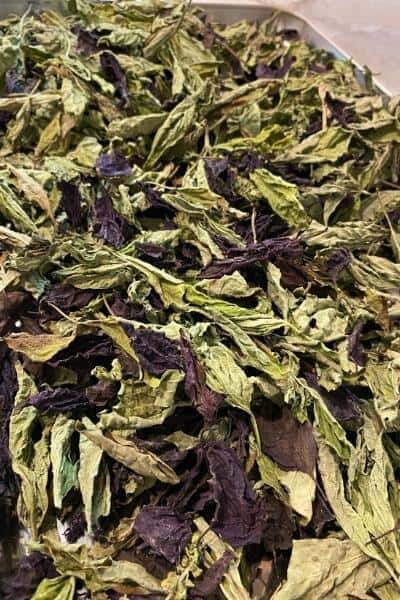
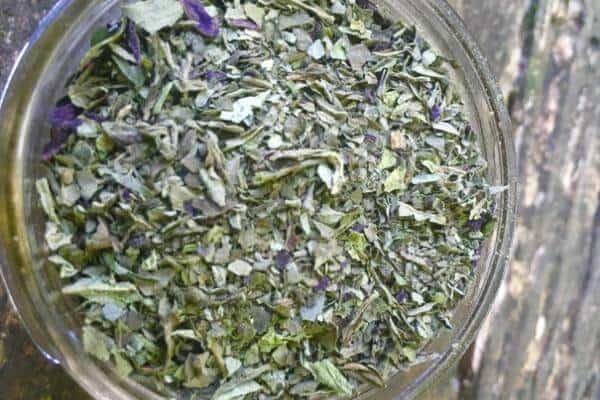
Dried basil will be completely dry and crispy when it is done. The leaves will be shriveled and dry to the touch. If you feel any damp or non-crispy leaves, leave the basil in the dehydrator a little longer.
When it reaches this state, turn off your dehydrator and allow the dried basil to cool completely.
Now it’s time to store your dried basil!
How to Air Dry Basil
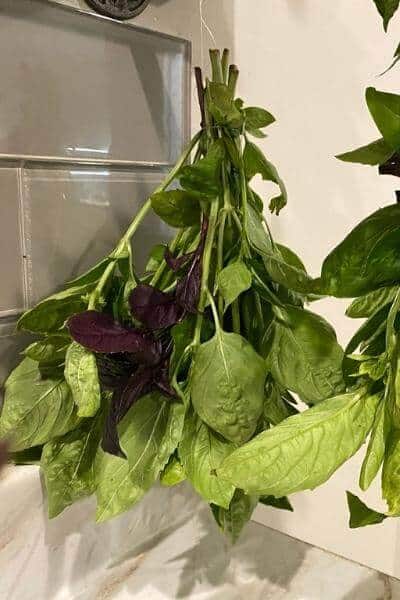
Air drying basil is super easy. All you have to do is hang bunches of basil and leave them alone until the leaves are completely dry.
Don’t make your bunches too large or the middle stems won’t dry. If you’re drying a lot of basil, be sure there is plenty of air flow around your bunches.
To make your bunches, simply choose stems of similar length and tie them together tightly with cotton string, floss, or even a twist tie.
Hang in an area that has low humidity and a lot of air flow.
The cons of air drying basil is that it takes a lot longer than an electric dehydrator- a couple weeks versus a few hours. It can also take up a lot of space if you have a lot of bunches to dry. And finally, it can make a little bit of a mess as the leaves dry and bits start to drop off.
After a couple of weeks your basil should be completely dry. As with electric dehydrating, check each stem and make sure all the leaves are completely dry and crunchy. If not, let them dry a few more days.
If you left the leaves on the stem, remove them from the stems before storing.
Storing Homemade Dried Basil
Your basil will retain more flavor if you don’t crush the leaves before storing. So store your basil as whole as possible and crush before use. If you need to conserve space, you can very gently crush the leaves before placing them into the container.
I store all of my herbs in glass mason jars with standard canning lids. I have found that plastic mason jar lids don’t keep the herbs as air tight as I’d like, so I stick with the metal lids and rings.
Then store your jar in your spice cabinet, cupboard, pantry or other dry, dark location and try to use within a year.
How to Substitute Dry Basil for Fresh Basil
Do you have a recipe that calls for fresh basil and all you have is dried? Use these substitutions as a guideline:
- 1 tablespoon fresh basil
- 1 teaspoon dried basil
- 1/4 teaspoon powdered basil
Though, if you’re like me, there’s no such thing as too much flavor and I just throw a handful of it in!
Don’t want to dry your basil? Learn How to Freeze Basil or check out 10 Ways to Preserve Basil at Home.
You May Also Like:
How to Grow Basil in Your Garden
Best Basil Companion Plants in the Garden
Companion Planting with Herbs in the Garden
7 Perennial Herbs to Grow in the Garden


can you dry basail in the microwave