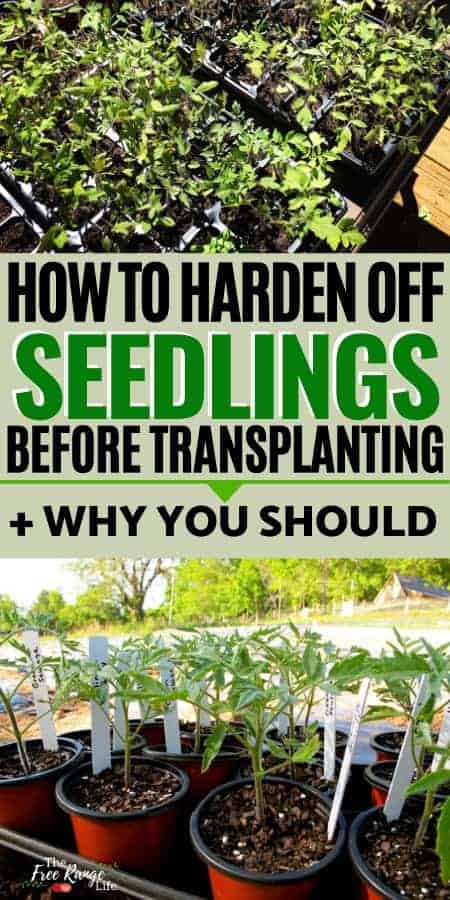
Are you close to your last frost date and ready to plant your crops in the garden? Don’t forget one last step! Learn how to harden off plants before transplanting them to ensure a healthy transition.
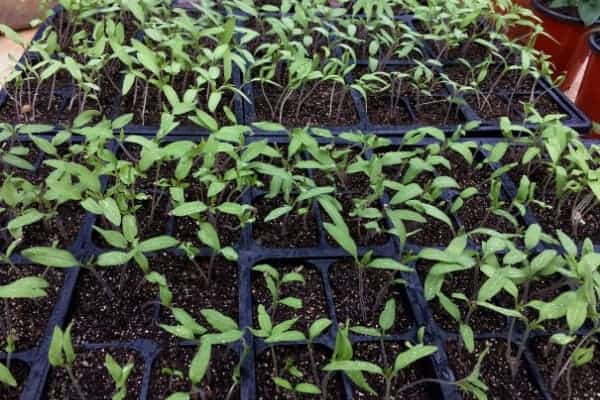
I love starting my own seeds every year. I plant over 300 seeds- tomatoes, eggplant, peppers, cucumber, squash, and more. I baby them and care for them- almost like actual kids!
This site contains affiliate links. If you make a purchase using one of these links, I may earn a commission. Please see my disclosure page for more information about cookies collected and our privacy policy.
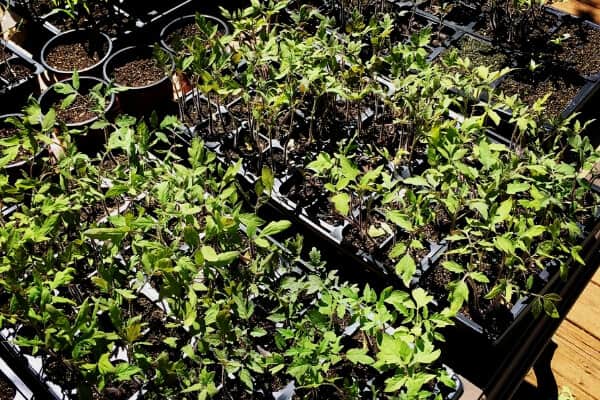
Then we get close to the last frost date- and it’s close to graduation day. My seedlings are almost ready to go out into the real world, but first, I have to prepare them!
Hardening off plants is how you prepare your seedlings and transplants for life outside.
Why Should You Harden Off Your Plants
Hardening off your plants is a crucial step that will ensure your veggies will survive on their own out in the garden. Without it you can face a lot of problems and maybe even let all that hard work of caring for indoor seedlings go to waste.
Here are just a couple of reasons why hardening off is so important:
- It helps your seedlings get used to the elements. The sun is bright and hot. The wind can be strong. They need a gentle introduction to these things.
- It strengthens the stems. Often, seeds started inside can be on the leggy side, and even if they aren’t their stems are often very thin. Being gradually exposed to the outside helps them toughen up a bit.
- Exposes your plants to a greater range of temperatures. Your house is likely a constant- fairly warm- temperature. But outside in the spring can go from the 40s at night to 80s in the day and everywhere in between.
- Acclimates your plants to a variation in water supply. Inside, your seedlings get water daily, they don’t have to search for it. Hardening off can help them grow stronger roots and get them used to not having a constant water supply.
So that’s WHY you should harden off your plants. Now let’s talk about HOW to harden off your seedlings.
RELATED: 5 Tips for Starting Your Own Seeds
How to Harden Off Plants and Seedlings Before Transplanting
There’s not really a point that’s too EARLY to start exposing your seedlings to the outdoors, if it’s warm outside in the day I start very early and just bring them inside at night. I have also been known to start later crops like squash and cucumbers in pots on my deck. They are never NOT outside.
But at the very least you need to start the hardening off process 1-2 weeks before you plan on transplanting your seedlings into the garden.
5 Steps to Hardening Off Your Plants:
1. Choose a protected spot
The first time your plants go outside, choose a sheltered place that doesn’t receive full direct sunlight and is protected from wind.
You have a couple options, such as:
- Inside a large plastic tub
- Right beside the house
- Inside an open cold frame
- On a covered porch
You can also choose a somewhat overcast and calm day.
They key here is to expose them to the elements gently- you don’t want the sun scorching them or the wind snapping their stems on their first day out.
2. Set plants outside for an hour
It’s important that the first time your plants go out, that it is for only a limited amount of time. An hour is all they need or you could end up with sun burnt or scorched plants.
Or, if there’s too much wind, plants that are now laying flat against the soil.
Set a timer for one hour and that’s it.
3. Bring back inside
Once the hour is up, bring your plants back into the house ( or close up the greenhouse, close the cold frame, etc).
Set them back on under lights, give them water, and all them to recover from the exposure they have experienced.
4. Increase time outside and decrease protection
Everyday for the next 7-10 days, repeat this process. Everyday add another hour to the time they spend outside.
You can also slowly decrease the amount of protection they receive- bringing them out into full sun and away from a wind break.
You can even wait to water them until they are showing the first signs of wilt.
Every night, bring them back indoors and allow them to recover.
5. Increase to all outside in full sun, only bringing in or covering if there’s a chance of frost
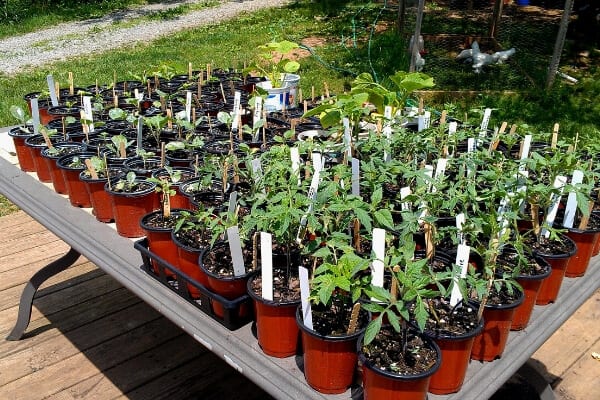
By the end of the 1-2 weeks, weather permitting, your plants should be transitioned to spending all day outdoors.
I have mine in full sun on my back deck and allow them to be outside even if it’s windy or raining. I do still bring them indoors at night, if it gets below 40 degrees, but usually at this point in time that threat is close to passed.
Once you reach this point, your plants are hardened off and can be transplanted into the garden safely.
Troubleshooting Hardening Off Problems
Sometimes no matter how hard you try to do things right, things can go wrong. Lucky for you, most crops are pretty forgiving! Here are some of the problems you might run into during the hardening off process.
Bleached Spots on Leaves
If you notice some of the leaves on your plants look somewhat white or bleached, chances are they are getting too much sun, too fast.
If you see this, bring them back inside and allow them to rest for a few days before starting the hardening off process over again.
Either decrease the amount of time in the sun to start, or find a shadier spot with more filtered sunlight.
Wilting Plants
Wilting happens. Especially when seedlings are in very small trays that can dry out really quickly. Wilting in itself is actually not all that bad- it can help strengthen your plant’s roots and stems.
If you come outside to find your plants wilted- water them! That’s usually all it takes and they pep back up within an hour or 2.
Now, if they are dry and crunchy- well, you probably waited too long to give them water.
You can prevent wilting by making sure your seedlings are sufficiently watered at the start of their outside time.
Snapped Stems
Snap stems are sometimes a part of seed starting and growing a garden. Snapped stems are usually due to too much wind or too thin of stems- or a combination of the two.
Here are a couple suggestions to prevent your stems from snapping:
- Be sure to choose a protected location for your first few days of hardening off.
- Choose a calm day with next to no wind
- Take measures to prevent your seedlings from getting to leggy. Check out my Common Seed Starting Problems and How to Fix Them for some suggestions.
- “Tickle” your plants. This simply means that you run your hand over top the seedlings a couple times a day while they are INDOORS. This can help strengthen their stems.
- Use a fan indoors. You can also use a light fan on your seedlings while still indoors to help toughen up the stems.
This may all seem like overkill or a lot of extra work, but it’s an important step to getting the seedlings ready for life outside.
Out in the garden your plants will be subjected to large temperature swings, wind, too much rain, too little rain, and hours upon hours of sun. And a little preparation goes a long way in keeping them healthy!
New to Gardening? Check Out These Articles:
11 Easiest Vegetables for Beginners to Grow
Top Mistakes Made by New Gardener (So You Can Avoid Them)
11 Tips for Beginning Gardeners for a Successful First Garden
I am planting my first “garden” this year and was wondering about this. I’ll be starting today and hopefully all goes well. I have one I already thing is going to die and it’s stem has slumped over. Wish me luck!
Great information. Thank You.
I would like for someone to contact me about your Affiliate Program.
Wish I knew this before I transplant my Bush cucumbers. Good article.
I am very excited for this year 2022 I am growing my vegetable garden from seeds, my seedlings need to be acclimated asap they are getting leggy and tall, last year I went and bought my plants that were already started cause I thought I was late starting my vegetable garden