Raised garden beds are a great way to elevate your gardening game. Raised garden beds have a lot of benefits, such as:
- Less weeds since the garden is off the ground and surrounded by a barrier
- Improved soil- you control what goes in the ground!
- Warmer soil earlier in the season (and for longer)
- Less erosion
- Better water retention since you control the soil makeup
- No tilling needed
- Easier on your body- tall raised beds mean you don’t have to bend so far to reach the plants
And while some crops (ie. vining winter squashes) might do better on the ground, raised beds are perfect for root crops, greens, and high feeders. Most gardeners see an improvement in their harvest with the addition of raised beds.
This site contains affiliate links. If you make a purchase using one of these links, I may earn a commission. Please see my disclosure page for more information about cookies collected and our privacy policy.
One downside to raised beds is that you have to fill them! And, depending on the size of your beds, that can get expensive!
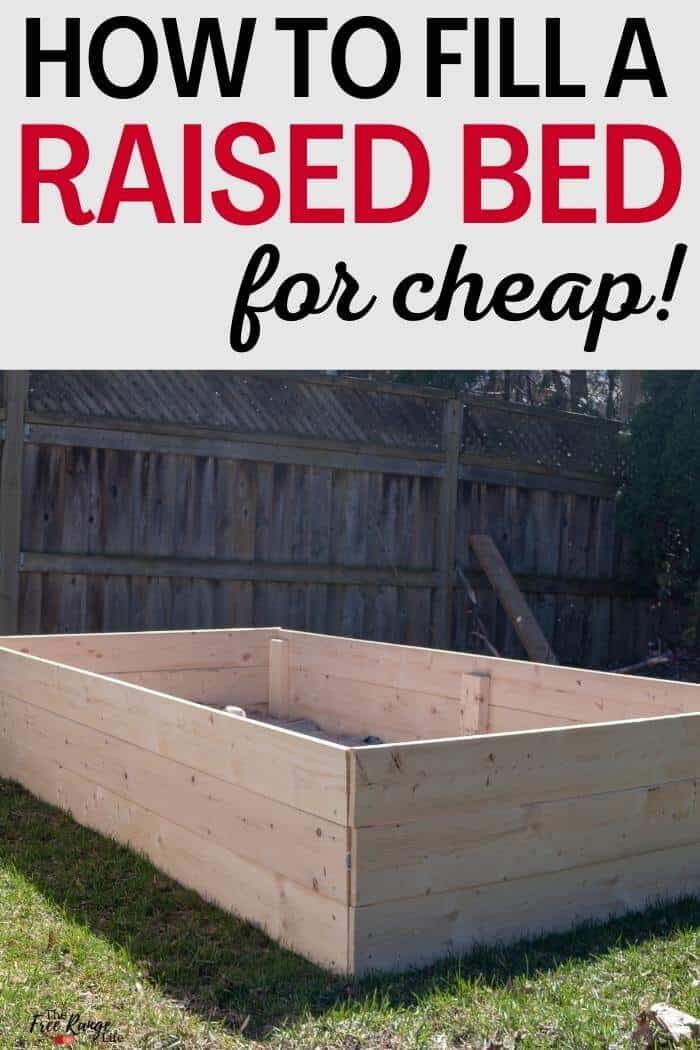
How to Fill Raised Garden Beds (and Save Money on Soil!)
In our garden we have a few different kinds of raised beds. A set of 24 inch tall wood and metal beds, some 17-inch tall galvanized metal beds from Olle Gardens, and one short, 10 inch tall cold frame bed. And that’s a lot of cubic feet worth of space to fill!
(Read my review of Olle Garden Beds here and get 10% off when you purchase your own!)
Luckily there are ways to reduce the cost of filling a raised garden bed!
Some people like to put a layer of plastic or landscaping fabric down at the bottom of their raised beds to prevent weeds, I personally think it’s very important for the soil health and the plants to have access to the soil underneath the beds. But if you feel strongly about a barrier, go ahead and put one down.
One note before I get to filling your raised beds, I suggest watering each layer well as you go to make sure there’s plenty of moisture and to reduce gaps in the layers.
Layer 1: Cardboard (free)
When filling your raised beds, the first layer should be cardboard. This acts as a weed barrier- but one that will break down and decompose over time.
And, if you’re like most people, there’s always plenty of cardboard around, so this layer shouldn’t cost you anything at all.
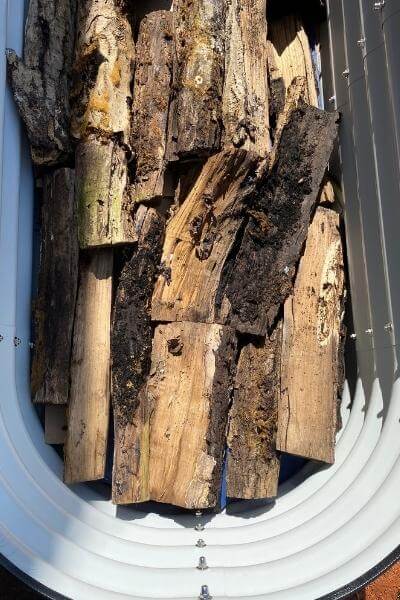
Layer 2: Logs & Sticks(free- minimal cost)
The second layer of your raised bed garden is logs. This layer can be up to 40%-50 of the height of your bed. That means if your bed is 24 inches tall, you can add wood matter up to 12 inches tall. Simply layer logs of varying size along the bottom of your beds, up to this maximum height.
These logs will decompose slowly, giving organic matter over time. They will also act as a sponge and retain water for your plants.
The best logs to use are one that are older and already starting to rot a little. You can cut branches from dead trees or use an old woodpile. If you don’t have access to your own, try your local stump dump or see if there are any tree services or neighbors that might let you have unneeded wood. Keep in mind that hard wood will decompose slower than soft wood.
One thing to note: Don’t use wood from rot resistant trees such as cherry or locust. Also avoid trees like black walnut, red oak, and sycamore because they are allelopathic- meaning they contain chemicals that inhibit plant growth.
Next add a layer of sticks and small branches to fill in the gaps between the logs an larger branches. These smaller wood pieces will break down more quickly than the logs below. Remember this layer should be no more than 50% of your bed height.
If you can find this layer for free- then you’ve reduced costs of filling your raised garden beds by half!
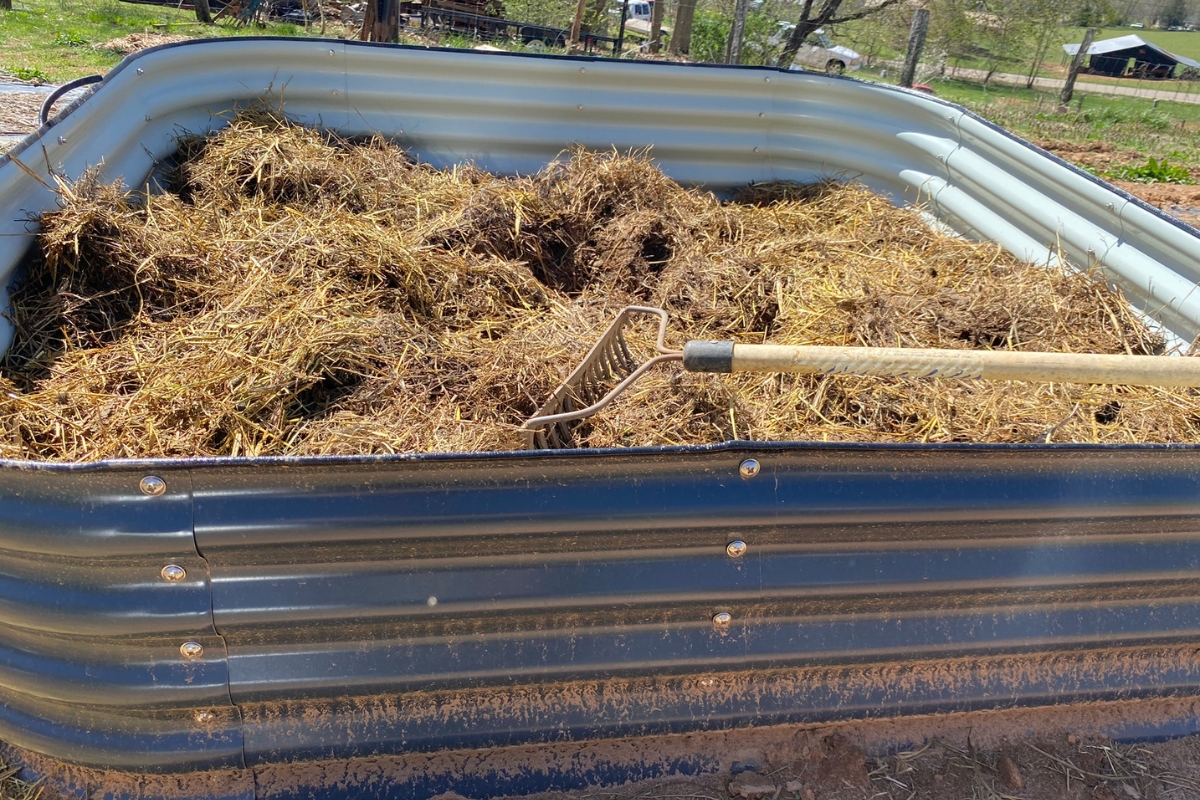
Layer 3: Green & Brown Matter (free- minimal)
The next layer is your green and brown plant waste. This layer can be made up of any combination of the following:
- Grass clippings
- Chopped leaves
- Straw
- Spent hay
- Kitchen scraps
This layer can be about 10-20% of your bed.
Most people can find grass clippings and leaves for free around their own yards. If you raise your own animals you may have access for spent hay or bedding to add in at this layer.
And, if nothing else, straw is pretty cheap!
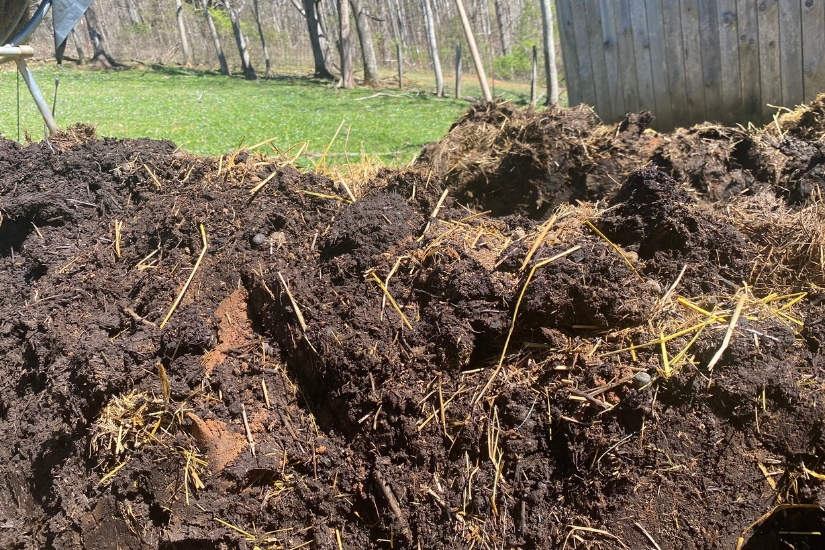
Layer 4: Compost & Manure
So now, your garden bed is filled 60-70% for very little money. The final 2 layers are very necessary, and harder to find for cheap, but think of all the money you’ve saved so far!
Next up you need a layer of compost. This can be purchased from your local mulch yard (mushroom compost is great!) or, if you have access, use some of the options below:
- Well rotted compost from your personal compost pile
- Well rotted animal manure (free if you raise your own animals)
- Well rotten leaf mold
- Vermicompost (worm castings)
We personally clean out our duck and goose house- which is a lot of composted straw, manure, and mud- and our chicken house for this layer.

Layer 5: Soil
And, finally, you need soil. And you’ll likely need to pay for soil unless you have lots just laying around for some reason. But the good news is, you’ve already filled your raised garden beds 3/4 of the way- so you’ve cut costs by a lot!
This layer should be a good quality soil mix. Depending on how much you need, you can purchase bags or get a load of soil from your local mulch yard.
I recommend filling your raised beds to the top, since there will be settling and decomposing over time. As this happens the soil level will appear to go down and you might have to add more compost or soil to the top as the bottom layers decompose.
READ NEXT: 8 WAYS TO IMPROVE YOUR SOIL FOR FREE!
Hi Sarah, I was thinking about picking up the decaying logs in our back woods but I’m not sure if I will know what kind of trees they are. If they are all ready rotting will it matter what kind they are? Thanks so much for all your tips!
They will be great!
Is shredded paper good for composting?
if you do t have access to tree logs can you use different types of lumber. (2/4s),2/6s etc.
YES, we add shredded paper. And newspaper.
what abour sawdust from a furniture shop
Greetings to all,
How long must I wait before planting after I have completed the final step? My barns are cleaned bi-monthly; how long must I wait until the waste bedding is usable for gardens?
Great info,thanks! Cindy
This almost sounds like lasagna gardening. Is this kind of the same concept? So can we use Peet moss as a filler also?
how should prepare raise bed areas against animals and weeds?
Can I use this layering idea in my grow bags? They do take a lot of soil to fill and I have plenty of cardboard, sticks, straw, etc. Or do I need cardboard? Is it mostly for keeping the weeds down? Maybe I should just tear it into pieces and use in somewhere in the middle.
Joanne
I usually fill deep raised beds depending on how much actual soil depth I need. For example. If I am growing deep tap-root veg like carrots or parsnips I make sure to have enough soil depth for them to grow in – at least 12 inches.
Conversley if I grow cabbage or onions then I know that I only need about 8 inches of topsoil and the rest of the infill can be a combination of virtually anything that is no-toxic to the plants – but is cheap and easy to get hold off. :)
Can you use cotton seed husk ?
I am an organic gardener. The problem with your approach is you have no way of knowing what went wrong if the veggies don’t grow well. Save your money and do it right the first time. I learned the hard way you save money in the long run.
Saw your comment & I’m trying raised beds this Spring. Pls elaborate more about not knowing why/if your plants do well? Trying to learn. Tyia.
My problem is what if the raised beds are not on the ground? My planters are up four feet and have a cloth covering drainage over the bottom. The drainage is horrible with water going directly through.
I would stay away from using hay. In the past it filled my beds so well with lovely pasture grass that I now use old hay just as a straight lawn patch solution! No need to purchase grass seed! lol Not what I wanted to grow in my raised beds though!