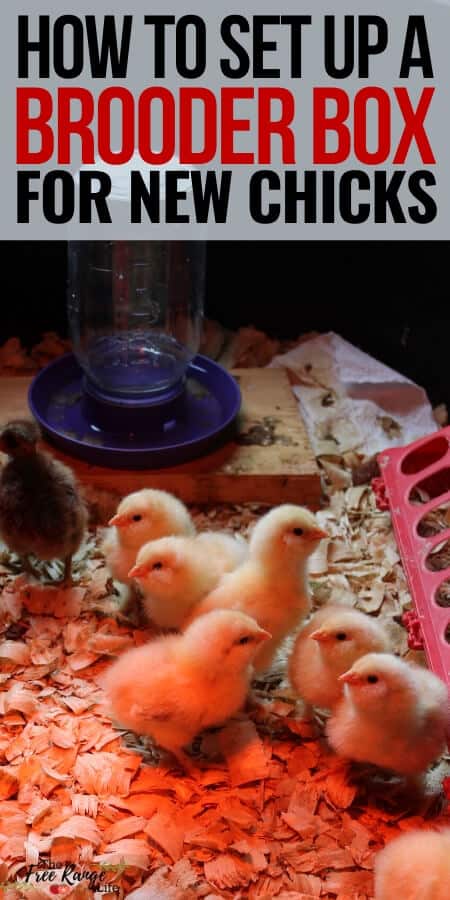
Are you getting ready to bring home your first day-old chicks? Learn how to set up a brooder box for your chicks to live in the first few weeks!
Chick day is a big day at our house. There’s nothing quite as exciting as going to the post office and bringing home a peeping box of chicks!
This site contains affiliate links. If you make a purchase using one of these links, I may earn a commission. Please see my disclosure page for more information about cookies collected and our privacy policy.
If you are a beginner when it comes to raising chickens, you need to know how to care for your chicks those first few weeks when they are at their most fragile.
And the first thing you need to have ready BEFORE your new chicks arrive is your brooder box!
✅ New to chickens? Check out my Backyard Chicken Binder, which has a full Brooder Checklist for setting up your first brooder box and caring for your chicks the first few weeks. Plus record sheets and checklists to help you raise better chickens!
What is a Brooder Box and Why You Need One
So what is a brooder box? Simply put it is a large box or tub that keeps your chicks contained and safe.
Why do you need one? Chicks are somewhat fragile in the first few weeks of their lives. They aren’t able to regulate their own body temperature and they need to be protected from wind, cold, and drafts.
A brooder box is a space that does just that. Chicks should stay in a brooder box for at least the first 2-3 weeks of their life, and then they can graduate to a larger, but still protected, area until they are fully feathered and able to live without supplemental heat.
Supplies for Your Brooder Box
Brooder boxes can come in all shapes and sizes, but there’s a few staples that every brooder box must have.
A Large Box or Container:
We use a 50 gallon black stock tub for ours currently, but as long as your container is large enough to fit the number of chicks you have, pretty much anything can work.
We’ve used large cardboard boxes in the past and they work great as long as they don’t get wet.
You can also use plastic storage tubs, wading pools, or build your own out of wood.
If these are your first chicks, you can also set up a corral out of something like cardboard in your coop and place them in there. You do need the sides because it helps prevent drafts and keeps the heat in.
On average you want about 1/2 sq. ft. per chick in the brooder. But if you plan on moving them to a larger space within a couple weeks, it’s okay to start smaller.
Bedding:
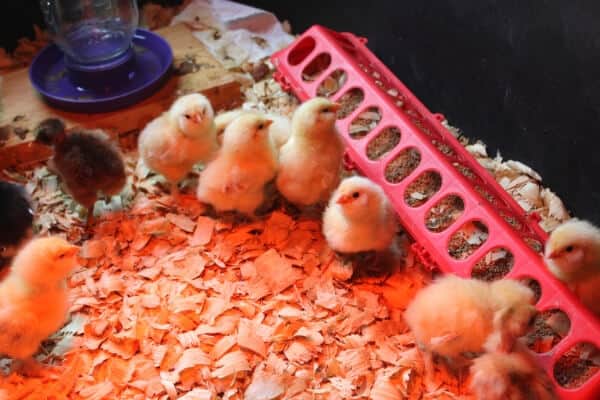
For chicks we use pine shavings. They are cheap and easy to find.
We’ve also used pelleted bedding, which is great for water fowl.
DO NOT use cedar chips. And don’t use plain flat newspaper as it is too slippery and can cause leg injuries to the chicks.
You will need to cover your pine shavings with paper towels the first couple days to make sure the chicks know their food and won’t eat the bedding.
Feed:
You will need a chick starter feed before bringing home your chicks. We like to get a high protein starter and I prefer UNMEDICATED feed- but you can do your own research on whether or not to use a medicated feed vs unmedicated.
Chicks don’t need any other feeding supplements when you first bring them home.
Other Supplies:
- A heat lamp and red bulb– chicks need to be kept warm up to the first 6 weeks of life
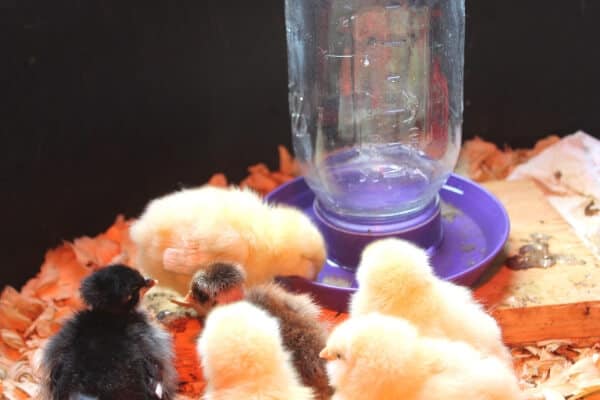
- A waterer- I love the mason jar waterers
- A feeder- we’ve used mason jar ones or the long multi-hole feeders. Make sure you have enough feeder space for the number of chicks you have
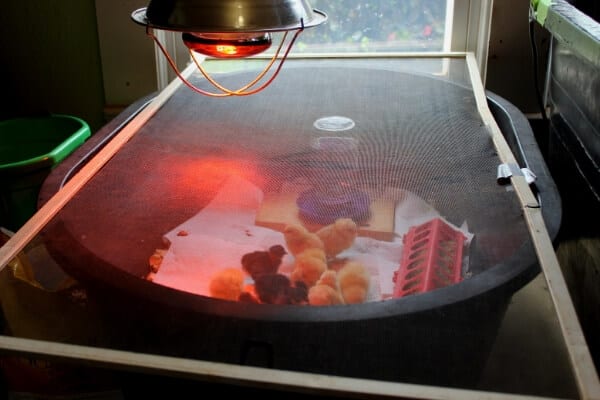
- A cover- we use window screens or sections of hardware cloth to cover our brooder box to keep out cats and keep the chicks from flying out once they are older.
How to Set Up a Brooder Box
Now that you have all your supplies, here’s how to set up your brooder box.
Start by filling your clean container or box with bedding. You want at least a couple of inches of bedding at the bottom of the box.
Next, cover the bedding with a layer of paper towels. This prevents the chicks from eating the bedding material while they are learning what their food source is. This step may not be needed if you are bringing chicks home from a farm store where they have been eating and drinking already for a few days.
Add your food and water. Make sure you have enough feeders and waterers for the number of birds you have in the box.
Secure your heat lamp above the brooder, or use a heat plate like the Brinsea Ecoglow. If you are using a heat lamp, make sure to secure it well with wire and not just use the clamp.
Note: Your chicks will need to be at about 95F when they first arrive home. Use a thermometer or keep an eye on the chicks for signs of being too hot or cold and move your heat source accordingly.
And that’s it! Now your brooder is all set up and ready for chicks!
How to Add Chicks to the Brooder Box
Once you have your brooder box, it’s time to add in the chicks!
If you are adding mail-order day-old chicks, they basically go from incubator to shipping box. They don’t know what food or water is. So you have to teach them!
As you take each chick out of the box and place it in the brooder you need to dip it’s beak into the water. This both helps them recover from their trip and helps teach them where the water is.
I also like to tap on the food dish with my fingernail, the sound is similar to a mother hen pecking and clucking and the chicks come too it. When they need me “pecking” in the food, they follow suit and start to eat.
Keep a close eye on your chicks the first few days. We keep them inside the house for at least 2 weeks both to keep them friendly and used to being handled and so we can observe them for signs of problems such as too much heat, too cold, pasty butt, etc.
Depending on your box, and it’s location, you may need to add a cover of some sort. If you do make sure it’s covered at all times and that the heat source isn’t too close to the cover.
More On Raising Chickens:
6 Things Your Chicken Coop MUST Have
How to Keep Chickens Warm in the Winter
Broody Hen or Incubator for Hatching Chicks
Pros and Cons of Free Range Chickens


Thanku…i appreciate the info…been few years since i had baby chicks…always double check my past knowledge is current…buck buck!🤓
Great info. Thank you
I ordered quail eggs , do I let them rest for a week pointed side up and put them in incubator round side up ? Thank you 😊
hi
my chickens are laying eggs soon enough in few weeks will be expecting chicks,
willing to have more ideas