In this Post: You will learn the key differences between hatching chicks with a broody hen and an incubator so that you can decide which option is best for you.
The main reason most people raise chickens is for the steady supply of fresh eggs. But at some point your chickens’ production will begin to dwindle and you will have to replace them with new birds in order to keep getting eggs.
This site contains affiliate links. If you make a purchase using one of these links, I may earn a commission. Please see my disclosure page for more information about cookies collected and our privacy policy.
Some choose to buy day-old chicks from a local farm or from a mail-order hatchery and others choose to hatch their own. Today I am going to focus on the 2 ways to hatch out your own chicks- a broody hen or an incubator.
Which is Better for Hatching Chicks: Broody Hen or Incubator?
Hatching Chicks Using an Incubator
In order to hatch your own chicks using this method you will need:
- Fertile hatching eggs. Either your own or from a reputable source.
- An incubator. We use a Hova Bator
- A thermometer, if your incubator did not include one
- A dependable electricity source
- water
There a few other supplies you might want, but those are the essentials. Before placing your eggs inside the incubator you will want to turn it on and allow the temperature to even out. You want it hovering between 99-100F.
You will also want to add water according to the incubator’s instructions for the required humidity. Once the incubator is set up, place the eggs inside. If you are not using an automatic egg turner, it is a good idea to mark one side of the eggs to help you as you turn the eggs manually.
Hatching chicks is a involved process and you cannot just set them in the incubator and forget them and expect to have chicks in 21 days. You will need to turn your eggs ever couple of hours- either manually or with an automatic turner.
You will also have to keep an eye on the temperature to make sure it stays at a steady 99-100F. If the temperature is too high or too low to very long you will not have a successful hatch. You will also need to refill the water trays throughout the incubating period to keep up the humidity levels.
Related Reading: The Pros and Cons of Free Range Chickens
It’s Hatching Day!
Around day 19 you will want to increase the humidity in your incubator. This is usually done by adding additional water, but read the directions on your incubator for full instructions.
You will also stop turning the eggs at this time, so if you have been using an automatic egg turner you will want to remove it at this time. Do not open the incubator at the end of the incubation period if at all possible. Usually the first sign of hatching is peeping coming from inside the incubator.
This signals that at least one of your eggs is beginning the hatching process. Most chicks will hatch on day 21, but it is not uncommon for them to be a bit early or late.
Hatching is a long and exhausting process for a chick; resit the urge to help the chicks along. Once all of your chicks are hatched, move them to your brooder box with a heat lamp, food and water. Here’s more information on setting up a brooder box.
You will have to dip each of their beaks into the water to show them how to drink. They will need to be kept at a temperature of 95-100F for the first week, and then reduce the temperature around 5 degrees each week.
Have healthier, happier chickens! The Busy Homesteader’s Backyard Chicken Binder is full of checklists, to-do lists, record sheets, and resources to help you care for your chickens in the best way possible!
The Pros and Cons of Hatching with an Incubator
There’s a good and bad side of every option.
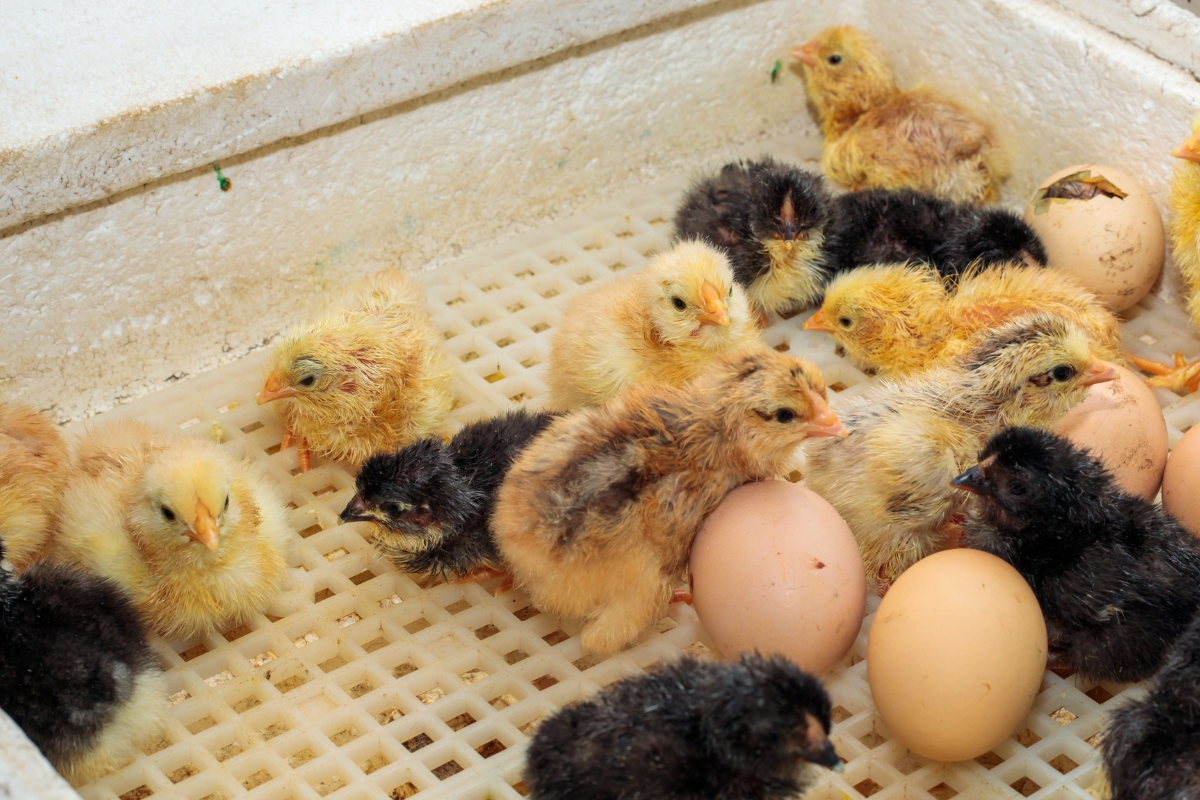
- With an incubator you will be able to hatch more eggs at once. The Hova-Bator we have can hold 4 dozen eggs- which is about 4 times as many as a broody hen can hatch.
- You can hatch your chicks anytime you want, no waiting on a hen to go broody.
- You have complete control over the process. This can be a good or bad thing!
- An incubator is more time intensive and involved for you. You are essentially the broody hen.
- You will have to “mother” the chicks once they’ve hatched
Hatching Chicks with a Broody Hen
Related Reading: Chicken Coop Necessities: 6 Things Your Coop Must Have!
If you decide to use a broody hen for hatching chicks you will only really need 2 things: a hen and eggs. And the process is pretty simple too- place eggs under the broody hen and wait 21 days to chicks to hatch.
It really is that simple, but there are a few other things you might want to do to ensure a good hatch.
Know your chickens. Not all hens will make good mothers and not all broody hens will stay that way. If we have a broody hen, I always let her sit in her nest a good couple of days to ensure that she is, in fact, good and broody before I give her eggs.
There’s nothing worse than a hen giving up on half developed eggs! And if your broody bird is a known egg eater…well, I’d steer clear of her.
Give the broody hen her own space. Chickens like to share nest boxes and chances are that your broody bird is taking up prime real estate in the coop. Not only does this mean you will run the risk of other chickens stepping on your hatching eggs, but also that new eggs will be added daily to your nest.
Giving the bird her own nest in a safe place is best. We have build a small “chick coop” within our larger coop. That is where broody birds go to hatch and raise their young. We have also used a large dog crate in the past.
Don’t let her sit on too many eggs at once. A dozen is all most birds can handle, and less than that for smaller birds like Silkies. If they have too many they will not be able to keep them all warm underneath them.
Keep track of your hatch day. Like I said, not all hens will make good mothers. Once we had 2 hens broody at the same time and one pecked 2 of her chicks to death and severely injured the third before we caught her. Luckily the second was a good mother and we were able to give her the ‘bad mother’s’ chicks and all was good.
We’ve also had some very clumsy birds who stepped on their chicks as they were hatching. So if you end up with a bad mother hen, you will need to step in and bring the chicks inside to a brooder- or hand them to a surrogate if you have one.
I find I much prefer using a broody hen to an incubator. It’s less work for me in almost every way because the mother hen is both the incubator and the brooder box. She will take over:
- Turning the eggs. She will rotate the eggs under her numerous times per day.
- She is the heater and the humidifier. You won’t have to watch temperature or humidity levels.
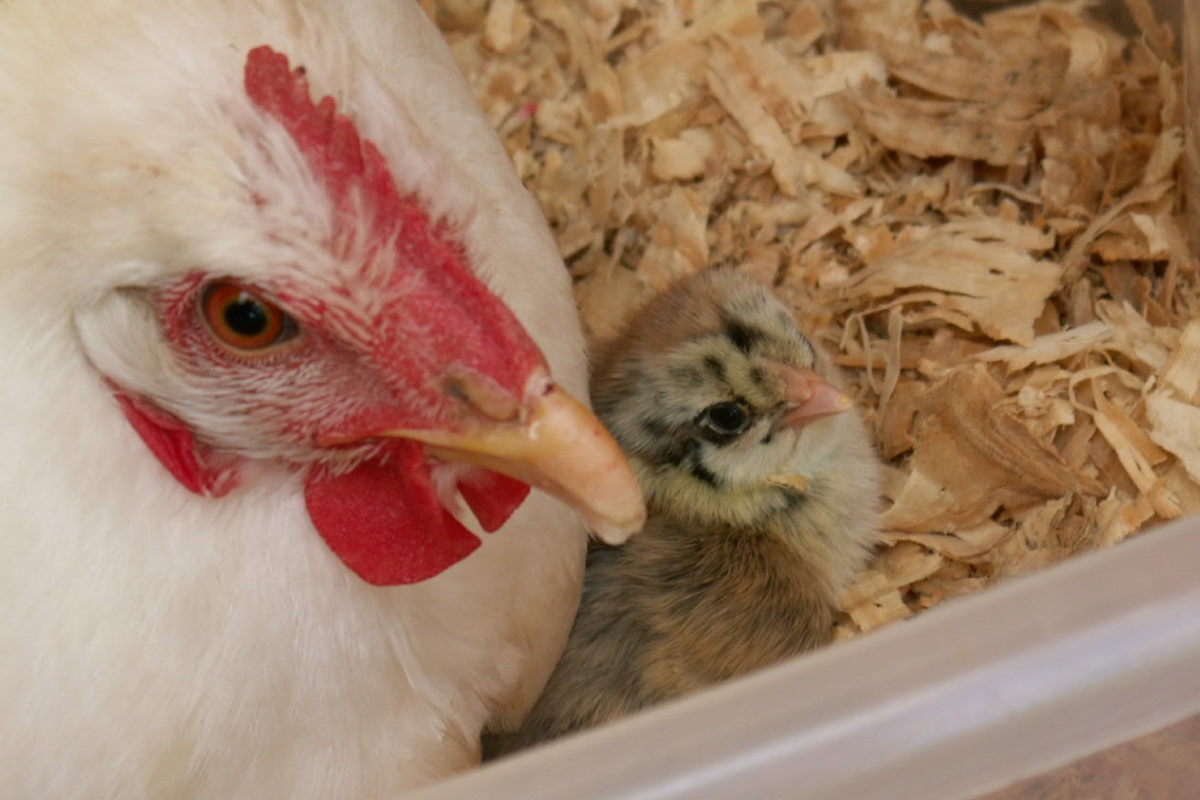
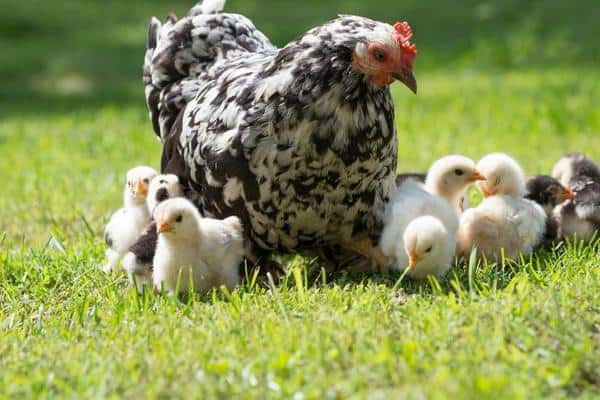
- She is the heat lamp. Unless it is the middle of winter you will not need to provide a heat lamp for the chicks. They will nestle under their mother to stay warm. It’s amazing how many chicks can fit under the belly and wings of a hen!
- She will teach them. Mother hens are fascinating to watch. They communicate with all sorts of different clucks. There’s the “you’ve strayed to far” cluck and the “Come and eat this” cluck and the “DON’T DO THAT!” cluck. They all sound a bit different and the chicks will learn how to eat, drink, scratch and forage from their mother.
Have you ever hatched your own chicks before? What is your preferred way?


For my last batch, I did something in between. I bought day old chicks and gave them to a broody hen to raise. The last couple of times she was broody, she only hatched a couple of eggs but turned into a fine mother. I hoped that she would adopt the strange bunch of various chicks I got her, and she did.
We did similar with our last hatch. One of our hens went missing and we discovered her 2 days later on 20 eggs! We took half inside to incubate then when they all hatched we slipped the incubated ones right back under her with her self-hatched ones :)
That’s awesome! I can just imagine 20 chicks scurrying after mama. After reading this post, I wonder if our problem with not enough chicks hatching is because she was sitting on too many. Next time we’ll make sure to thin them out.
Great post! Hi, I’m visiting from the Natural Living Monday hop. I’ve done both, but I really prefer the less-trouble method of letting a hen hatch the eggs. Right now I have 8 chicks in the basement in a stock tank with a heat lamp, and they are runnin’ me to death, lol.
Me too! We have new chicks coming in a few weeks and they will be inside for a few weeks since it’s winter. Maybe I will get lucky and a hen will go broody and accept 25 day olds from the mail??
I prefer a broody hen too – takes so much work out of it too. That, & there’s nothing like seeing new chicks free ranging!
I love seeing mama out there with her chicks! My kids used to worry that the new chicks wouldn’t be as tame, but usually Mama gives up on the chicks between 6-10 weeks and then the kids swoop in to become the new “mom”.
I sooo wish we could have a rooster and let our broody hens hatch naturally. Our neighbors aren’t fond of the roosters, but allow the goats, so we don’t push it. Would love to see mama hens with chicks :)
Hi Sarah! Just stopping by to let you know that your post was chosen as the featured post for the Simple Saturday’s Blog Hop! Don’t forget to stop over & grab your “featured” button to post on your blog!
We have hatched chickens both ways, as well. I much prefer using a broody hen because, like you said, she does all the work. It’s much easier. But, I find the chicks aren’t as friendly since we aren’t their mama hen. I also like having the control of using an incubator & watching the chicks hatch.
One trick is to build a relationship with the mama from day one. Then, when she has her own babies, she teaches them to trust you ? My best broodies were treated as pets when they were chicks and pullets. Lavishing love and treats on select chicks and pullets, makes for mamas that see you as a protector, a friend, and an important resource for her chicks, when the time comes. Another interesting outcome is that the other chickens see your relationship with your special friend and learn to trust you more. Only ever protect chicks and pullets from other chickens by cuddling the offender. This is especially important for cockerels. That way they associate their bad behavior with cuddles which are strange and uncomfortable but not scary or violent. Teach them that, when they do their little dominance dance, they will be gently scooped, held and have their waddles stroked. They like it but it’s intense so they avoid it. However, they will love you ?
I have always had such great luck with a broody hen (plus, it’s so much less work lol), but now that I’m taking on quail in the spring, I’ll be jumping into using an incubator. Thanks for the tips!
104homestead.weebly.com
Quail do great in the incubator. Almost too well, you can end up with tons of them! :) If you are using a table top incubator, sit it on the floor when you go to get the babies out. They will run out of the incubator and crash onto the floor and if they don’t have far to go it’s much better. :)
Personally, I use both. I think hens do a better job, but I don’t have enough hens go broody to get all the eggs hatched and then its kinda annoying having to keep them separated from everyone else. But it is so awesome to watch!
My guess is that your current hens, if they are broody, will probably raise your quail with just as much love as they would regular chickens. It might be hard to coordinate, though.
We are between chickens at the moment but intend to start another small flock soon. After living with chickens for a few years, I definitely prefer the hen method!
This is great! Pinning now!
~L
Howdy, I do believe your website could possibly be having web browser compatibility problems.
When I take a look at your web site in Safari, it looks fine
however, when opening in I.E., it has some overlapping
issues. I just wanted to give you a quick heads up! Aside from
that, wonderful blog!
I am day 6 into a broody hen hatch. I have had a friend hatch fertilized eggs for me in her incubator. She was able to hatch 4 of 12. I am not sure how many Snookie (my Jersey Giant) has under her, but I like the little effort involved on my part so far!
I need some advice. This is my first experience with broody hens. The first hen went broody so I moved her to a coup of her own. But once I moved her she would not get back on the nest…stayed on the roost the rest of the evening and all night. I figured the eggs wouldn’t hatch at that point so gave her new ones and put her back in her old familiar nesting box where she happily stayed. We are two days from hatch date and I don’t know what to do about setting up an area for them. If I move her again now will she abandon the eggs before they hatch? I really want the hen to raise them.
If I have a hen that won’t be moved while broody and insists on sitting on a nest in the coop, I make sure I watch closely on hatch day. AS long as she isn’t letting other hens in the box to lay things should be fine. You should be able to move her and her chicks once they have hatched to a new place. I usually just pick up mom and chicks together (chicks hiding under her wings).
That worked! Thanks for the advice.
I have a broodie hen who initially started stealing the other chickens unfertilised eggs and sitting on them refusing to move. We went and got some fertilised eggs for her to sit on. It is now day 25 and after doing a float test on a couple they were fertile as they floated but now am concerned that they should of hatched by now. Any advise would be appreciated.
Chris
21 days for chickens.at 25 they are not gong to hatch
Hi. I have hatched several different types of birds in an incubator with success. We have one that does all the turning for us and we remove the eggs from that on day 18 or 19. However, we have our first broody hen. We did leave her with too many eggs, now that I’ve read your article. I figured as much, but just expected the outer eggs not to hatch. She’s chosen to brood on her own in our main coop. Tomorrow is day 21 and I’m considering moving her to a brooding box tonight before the hatch begins. Do you think I should do this or leave her alone until chicks appear?