Freezing green beans is one of the easiest ways to preserve your green bean harvest. It takes just a few minutes and you can enjoy your green bean harvest all year long! Learn how to freeze green beans in this easy step-by-step guide!
Freezing green beans is a simple and effective way to preserve the flavor and nutrients of your homegrown beans, ensuring you can enjoy them long after the growing season ends. Whether you’re a seasoned gardener or a first-time preserver, freezing green beans allows you to make the most of your hard-earned produce without the need for complex canning methods.
This site contains affiliate links. If you make a purchase using one of these links, I may earn a commission. Please see my disclosure page for more information about cookies collected and our privacy policy.
In this guide, you’ll lean the step-by-step process, from selecting the freshest beans to preparing them for the freezer, so you can savor the taste of summer even in the heart of winter.
Freezing Green Beans from the Garden
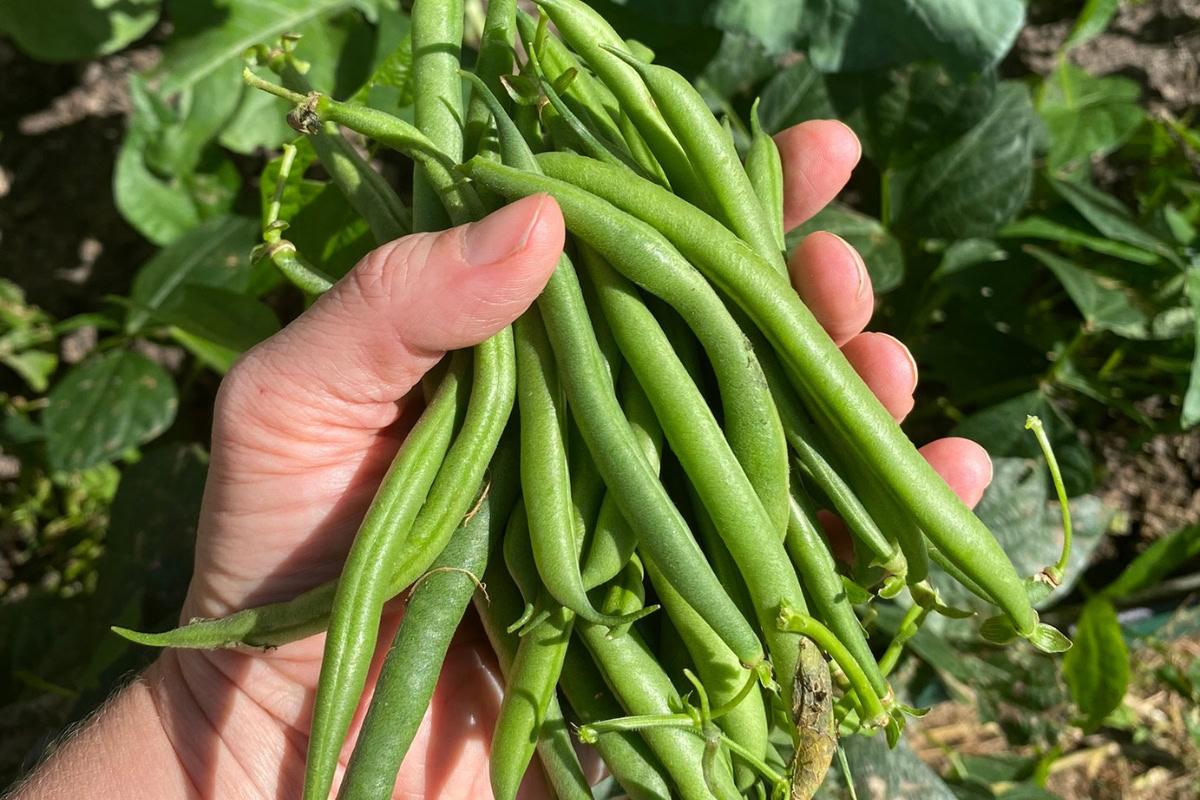
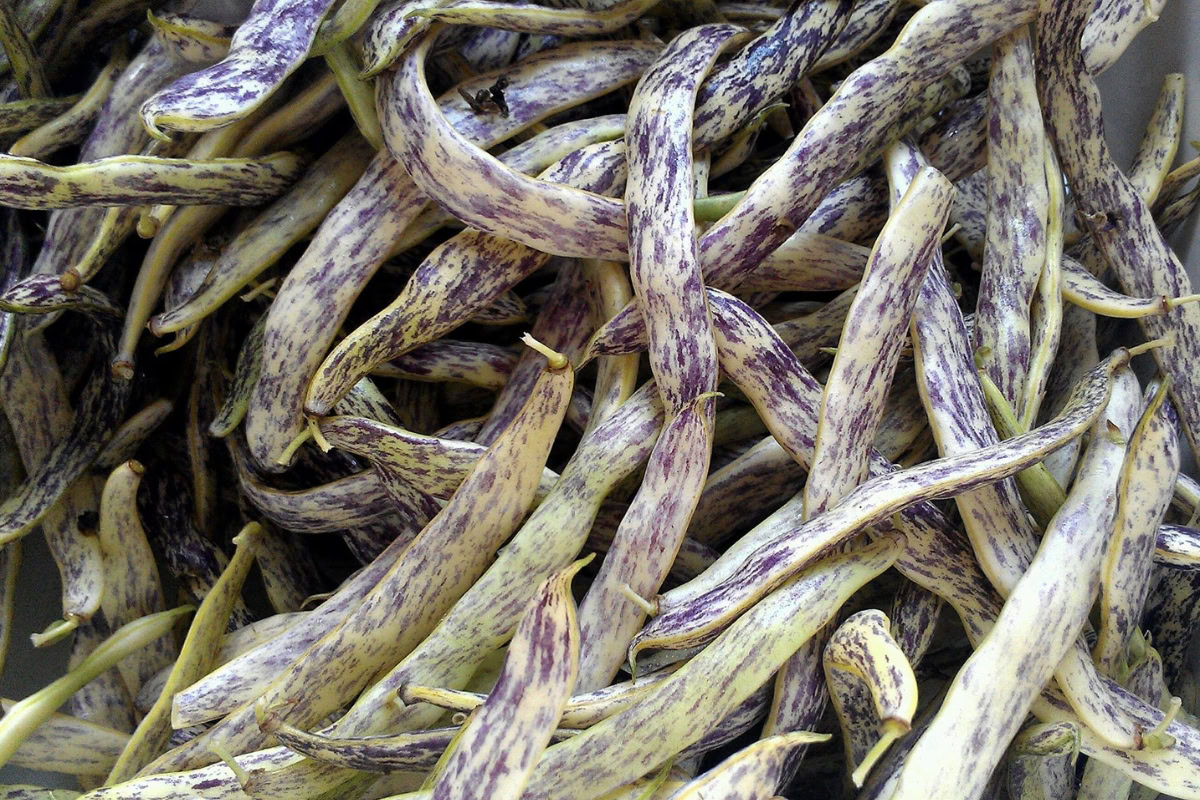
Before we begin, let’s talk about what a ‘green bean’ is. The tips in this article apply to all fresh green beans- this means pole beans,bush beans, string beans, french beans, snap beans, etc. They do not have to be GREEN in color. That simply means they are fresh as opposed to dried beans or beans out of the shell. We tend to grow thin french beans the most since they are our favorite sauteed. We also like the flat pod, bush beans like Dragon’s Tongue.
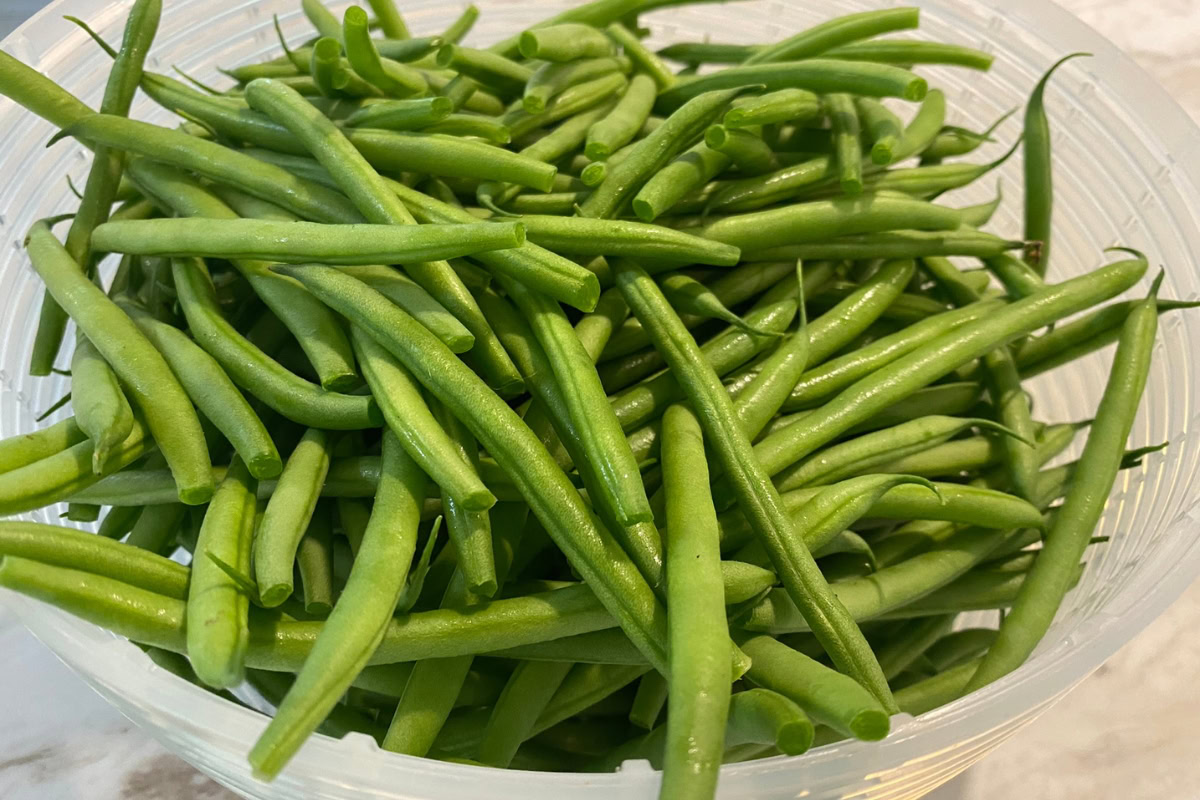
When choosing the best green beans to freeze, remember that the fresher the beans the better. The best time to freeze green beans is as soon after harvesting as possible- within a couple of days if you can. If you have trouble getting a large enough harvest to freeze, you can store each days pick in green bags in the fridge to keep them fresh while gathering enough to freeze.
Make sure you harvest beans that are at the prime ripeness. Don’t let them get overly large, tough, or stringy.
Now that you know which beans to choose, let’s talk about how to freeze them!
Never grown green beans before? Learn How to Grow Green Beans in Your Vegetable Garden!
Do You Have to Blanch Green Beans Before Freezing?
What is blanching? Blanching is a cooking process where the green beans are briefly boiled and then quickly cooled in ice water. Blanching helps preserve their color, texture, and flavor by stopping the enzymes that cause spoilage and nutrient loss over time. It also makes vegetables easier to store and prepare later, as it can soften tough textures and remove dirt or bacteria.
For green beans, blanching usually involves boiling them for 2–3 minutes, followed by immediate cooling in ice water to halt the cooking process.
Do you have to blanch before freezing green beans? No. For many vegetables, this step is optional. I tend to skip it for vegetables like zucchini, but I do recommend it for green beans.
If you only have a small harvest, and plan on using your frozen green beans within a couple of months, then you can skip the blanching step. But for the best results (and texture) and to store long term, don’t skip this step.
How to Freeze Green Beans- Step by Step
Step 1: Wash and Trim Your Beans
To prep the green beans for freezing, start by washing the beans to remove any soil or debris. Then trim them!
You can choose to keep them whole (this is my preference), or you can trim them into smaller pieces. It all depends on how you plan to use the beans in the future. If you plan on putting them in soups- chop them now!
But at the very least you need to trim the stem off. You don’t have to trim off the pointy end, but you can if you wish. Once all the stems are cut off you can move on to the next step.
If you have chosen to skip blanching, you can go straight to step 4.
Step 2: Blanching the Green Beans
Blanching is a simple process, and it really does help the beans retain their flavor and texture in the freezer! Here’s how to do it:
- Fill a large pot with water and bring to a full rolling boil.
- Once the water is boiling, add the green beans. Depending on how many beans you are preserving, you might have to work in batches. You want enough room for the beans to move and you want the water still boiling.
- Once the water returns to a boil, set a timer for 2 minutes for pieces or 3 minutes for full beans.
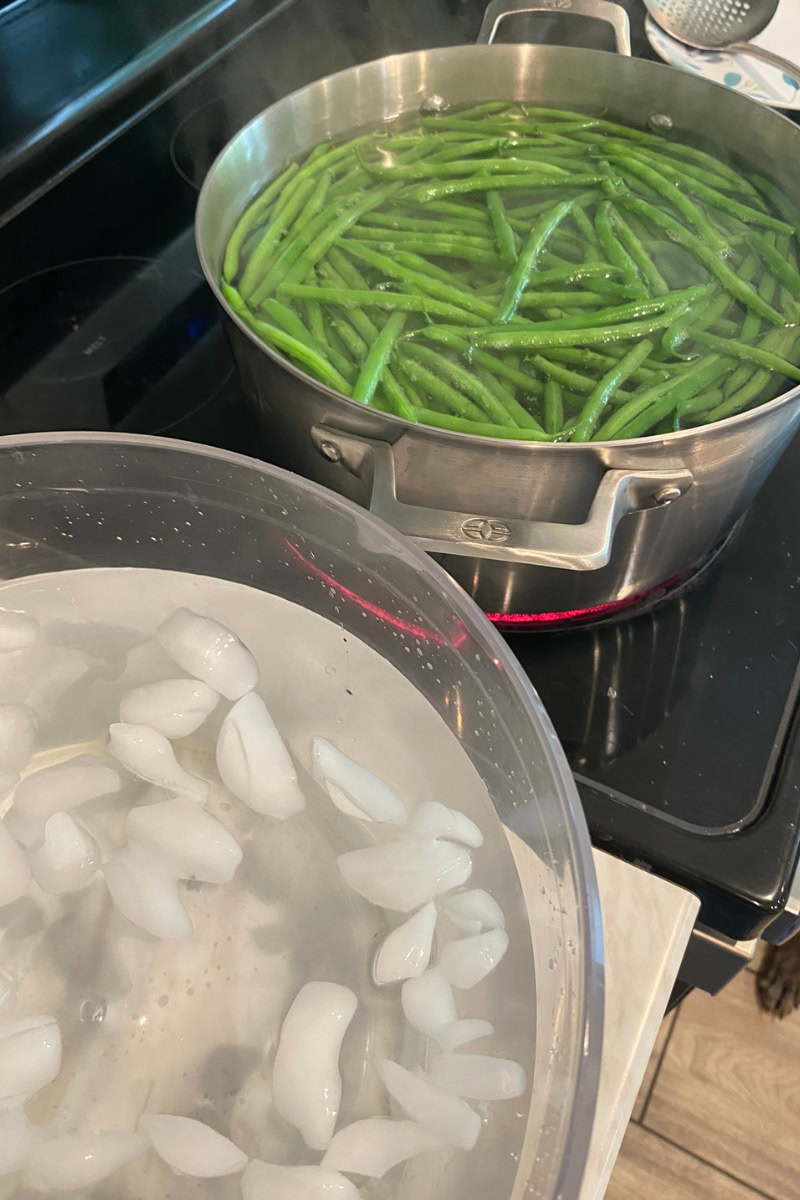
Step 3: Ice Water Bath
You want to cool the beans as quickly as possible to stop the cooking process. Overcooked beans can get mushy in the freezer. While your timer is running on the beans, fill up a large bowl with ice water and have it ready to go when the timer goes off.
- Immediately remove the beans from the water using a strainer spoon. Quickly, and carefully, transfer them to the ice water.
- Let the beans cool in the ice water bath for 3-4 minutes.
- Strain them out and repeat with any other batches, replacing ice as needed to keep the water ice cold.
Step 4: Dry Your Green Beans
When freezing, it’s important to dry your produce to reduce ice crystals that can degrade taste and texture. Once your green beans are cool, transfer them out of the ice bath into a colander to dry.
I like to use my salad spinner to spin some of the water out. Once they’ve drip dried, transfer them to a towel and allow them to air dry in a single layer. You can also blot them dry to quicken the process.
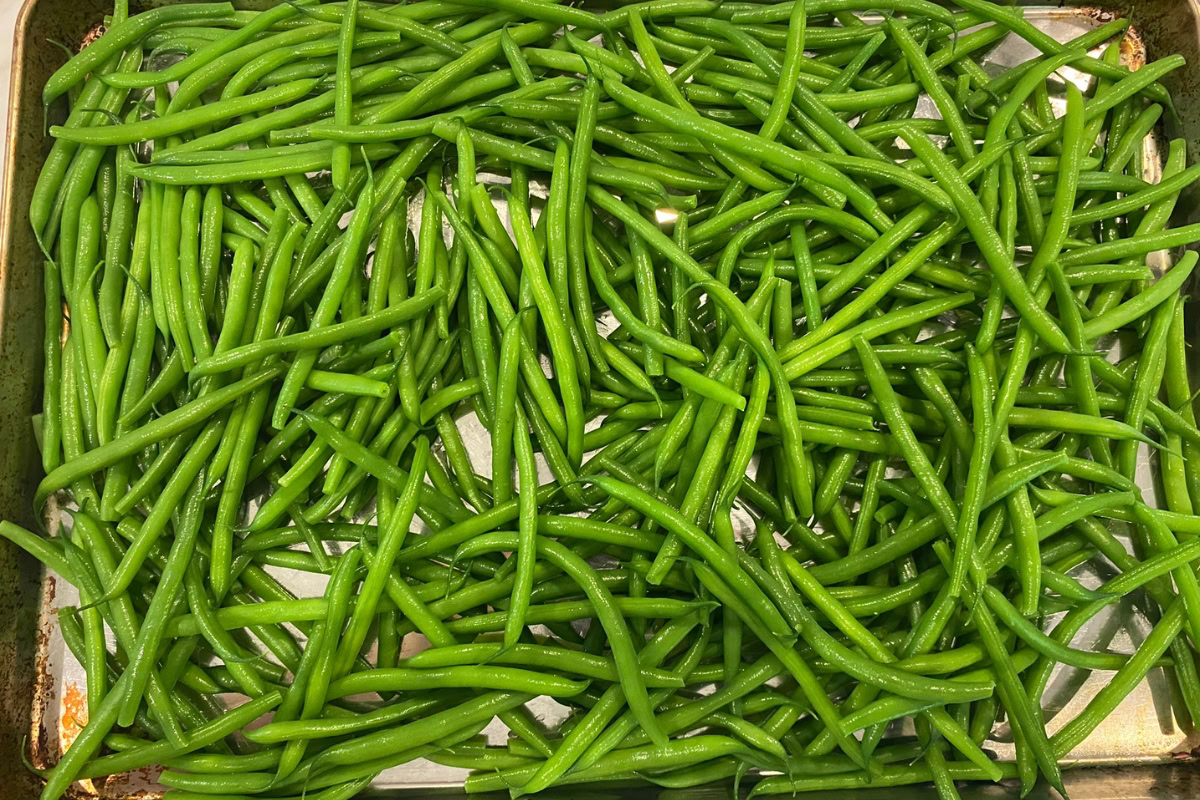
Step 5: Freezing the Green Beans
I like to flash freeze by beans before placing them in storage containers. This helps prevent the beans from sticking together in the bags. It also helps reduce water that can affect my vacuum sealer!
To flash freeze, lay your beans on a baking tray in a single layer and place the tray in the freezer for an hour or so.
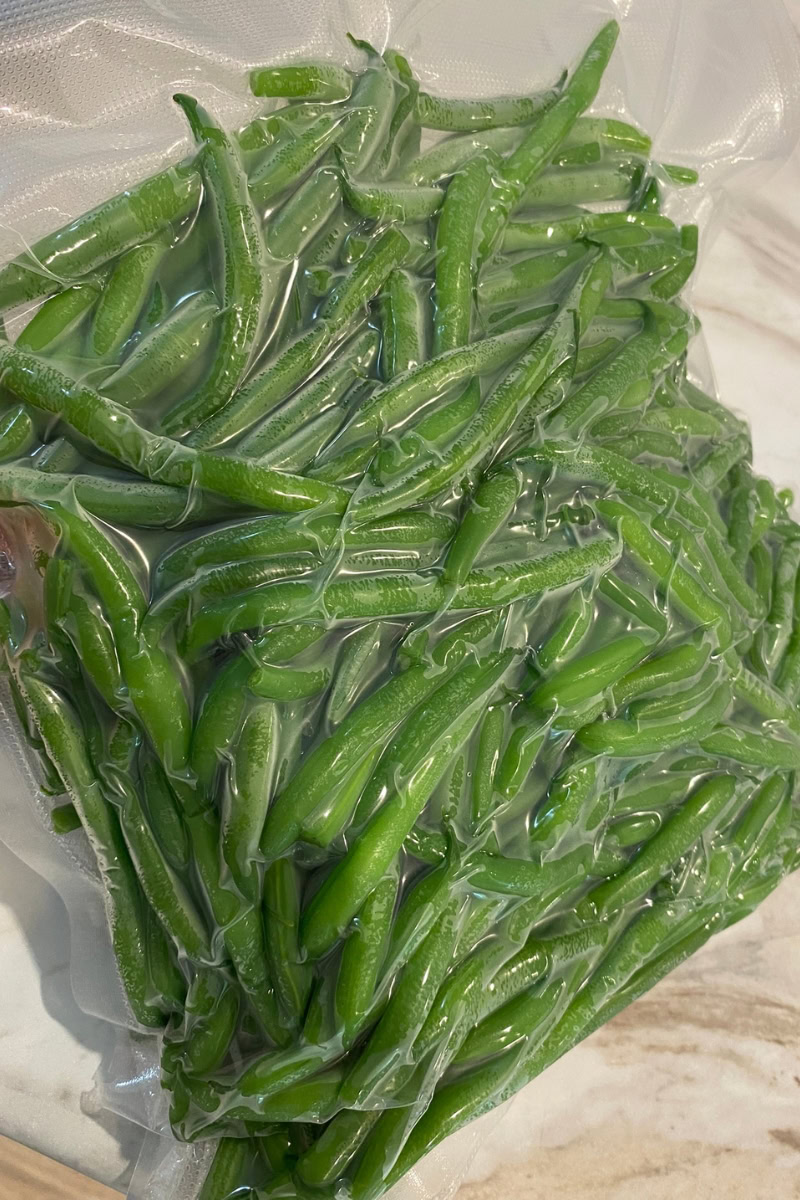
Once they beans are mostly frozen it’s time for the final storage. Freezer bags and vacuum sealed bags are the best option for freezing green beans. You can use freezer containers, but in the name of space saving, I recommend bags.
Choose your amount, for example, I freeze my beans in 2 lb packs, because we have a large family and that’s our standard serving. You can choose to your standard of measure and then measure that amount into each bag or container.
Remove as much air as possible. Less air means less freezer burn! I recommend a vacuum sealer for this purpose. Seal your bags- don’t forget to label them with the amount and the date!
And that’s it! You now have a freezer full of fresh preserved green beans to enjoy all year long!
How long do frozen green beans last?
Your frozen green beans will last in the freezer up to a year. It’s not that they will be BAD after a year, but their taste and texture will start to degrade over time. It’s best to use up your freezer storage within a year and replace with fresh ones each growing season.
If you chose to skip blanching, try to use the frozen green beans within 2-4 months.
How to Use Frozen Green Beans
If you’ve ever bought frozen green beans from a grocery store, you’ll likely know how to cook them. Just remember to adjust your expectations, preserved foods will never taste exactly the same as they did fresh.
Frozen green beans don’t have to be defrosted before using, simply throw them in the pot or pan frozen and cook until hot and tender to your tastes.
They are great sauteed with garlic and butter, thrown in to soups, and mixed into stir-fries.
If you want more information on other ways to preserve your green beans, just check out my article on 6 Ways to Preserve Green Beans for more ideas!