Do you have seasonal apples to preserve? Learn how to dehydrate apples at home so you can store and enjoy your apples all year long.
Do you have apple trees on your property? Or do you go apple picking each year? Or maybe you just prefer to buy with the seasons and want to get the best price on apples during apple picking season (Late July- November is the peak for apples!)
This site contains affiliate links. If you make a purchase using one of these links, I may earn a commission. Please see my disclosure page for more information about cookies collected and our privacy policy.
If you want to enjoy the fresh taste of apples all year round, dehydrating them is the perfect way to preserve them!
Dehydrating apples is a great way to extend their shelf life and preserve their flavor. Plus, it’s a very simple process that anyone can do at home.
Here’s how to dehydrate apples for longer storage.

What Kinds of Apples Can be Dehydrated
You can dehydrate any kind of apple you’d like! I prefer to dehydrate the sweeter varieties as opposed to the tart varieties- but if you love the sour ones- they can be dehydrated as well.
Just remember that the dehydrating process concentrates the flavor of your produce. So they will taste sweeter or more sour after they are done drying.
I recommend using organic apples. Apples are on the dirty dozen list, which means they contain a lot of pesticide residues.
I love getting my bulk organic apples from Azure Standard in the fall and winter. They have a great price and quite a few options to choose from.
How to Prepare Apples for Drying
Preparing apples for drying is an easy process that doesn’t take long. Here’s what you need to do to prep for dehydrating apples:
Wash the apples thoroughly. Even if you plan on peeling them first, washing is a necessary step.
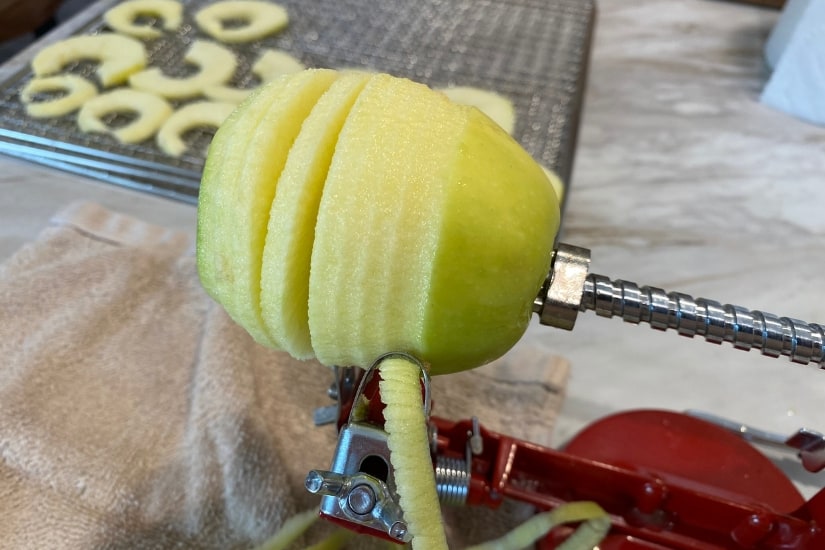
Cut and core the apples. You can do this by hand, or if you plan on making lots of dehydrated apples, invest in an apple slicer/corer. It makes the job super easy!
If you are slicing by hand, slice the apples using a knife or mandolin. They should be about ¼ inch slices.
Optional: Pretreat your apples with ascorbic acid or lemon juice to prevent discoloration. I never do this part since I want only the flavor of the apples to come through and I don’t mind a little browning.
If you want any flavorings- such as cinnamon- at them now as well.
How to Dehydrate Apples in a Dehydrator
An electric dehydrator is my preferred way of dehydrating apples, and here’s why:
- It keeps the apples at a controlled temperature, that’s not too high and it has built in airflow.
- It’s quick! You can dry apples in less than 8 hours (that’s short for drying times!)
- There’s no chance of burning the apple slices
Making dehydrated apples at home is easy and requires only a few simple steps.
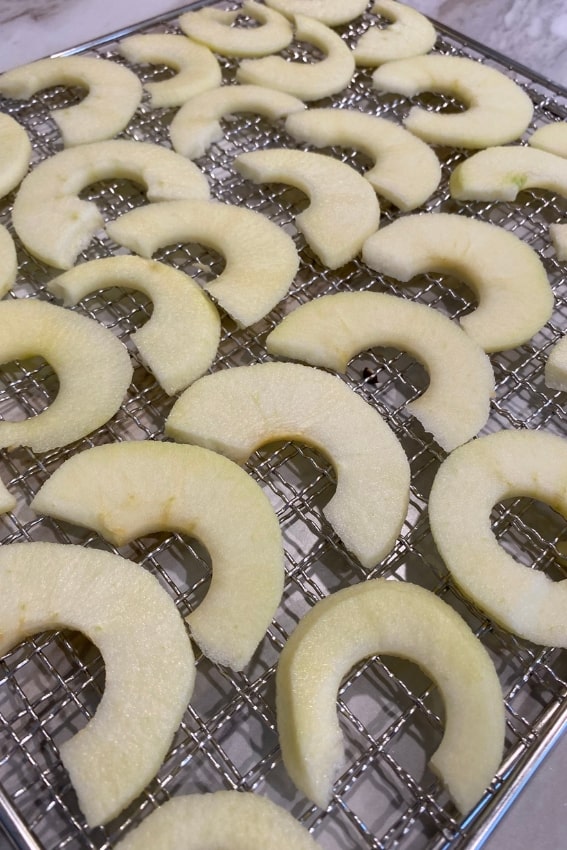
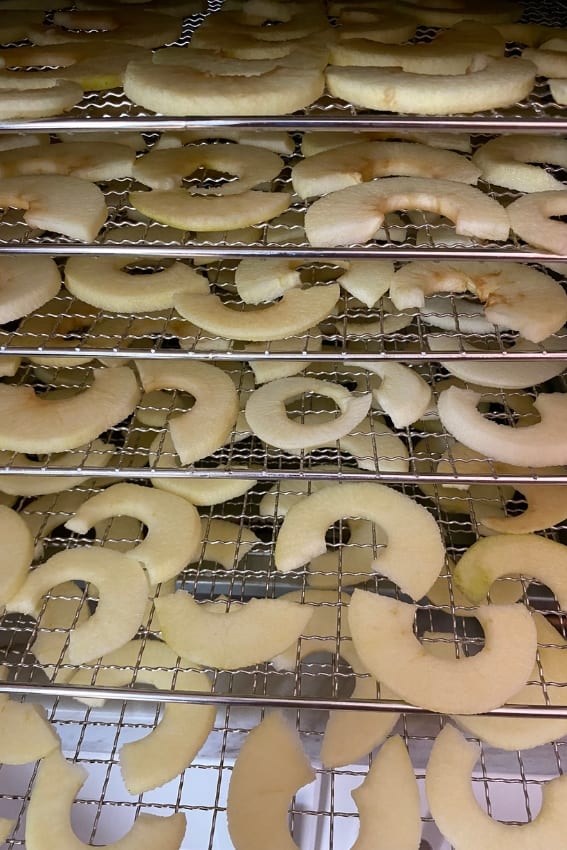
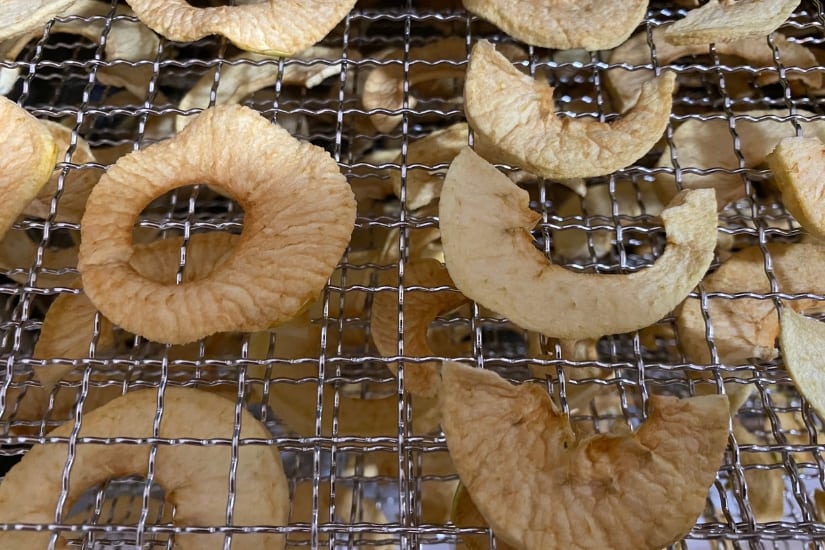
Arrange your apple slices on the dehydrator trays, making sure they are not overlapping as this will prevent even drying of the apples.
Set the temperature of your dehydrator for 130-135 °F and turn it on for about 8 to 10 hours.
Drying time will depend on the thickness of your apple slices, the conditions in your home, and how full the dehydrator is.
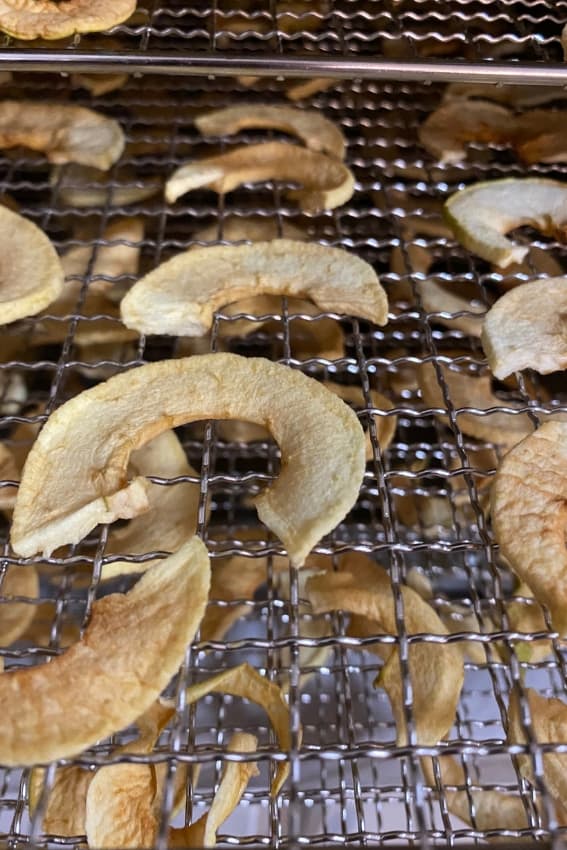
Your homemade dried apples should be dry and no longer sticky when finished!
They will still bend and feel a bit leathery. When in doubt, dry for longer.
Don’t have a dehydrator? Check out the 11 Best Electric Dehydrators to help you choose one.
How to Dehydrate Apples in the Oven
Don’t have a dehydrator and still want to dry apples?
You can dehydrate apples in your oven!
The key to dehydrating apples in the oven is to use the lowest temperature possible (or 135 °F, if yours goes that low). My oven goes to 145 at the lowest if I use the warming function.
If your oven doesn’t go below 200 degrees, you might want to leave the door open a crack to prevent the apples from getting too hot and burning.
Place the slices on a parchment paper lined baking sheet and bake them for 2-4 hours, or until they are lightly crisp. You might need to turn the apples and the trays a few times to get your apples evenly dry.
Once done, simply remove the apples from the oven and allow them to cool completely before storing
How to Dehydrate Apples in the Air Fryer
If you’re looking for an easy and convenient way to dehydrate apples using something you already have in your home, then try using your air fryer!
Not only is it a simple process, but it’s also incredibly efficient.
Spread your apple slices out evenly on the air fryer basket and set the temperature to around 300°F. Make sure not to overcrowd the basket.
Air fry for about 15 minutes- tossing the slices every 5 minutes.
Remove and allow to cool. The air fryer will result in crisper, more chip-like, dried apples.
How to Store Dehydrated Apples
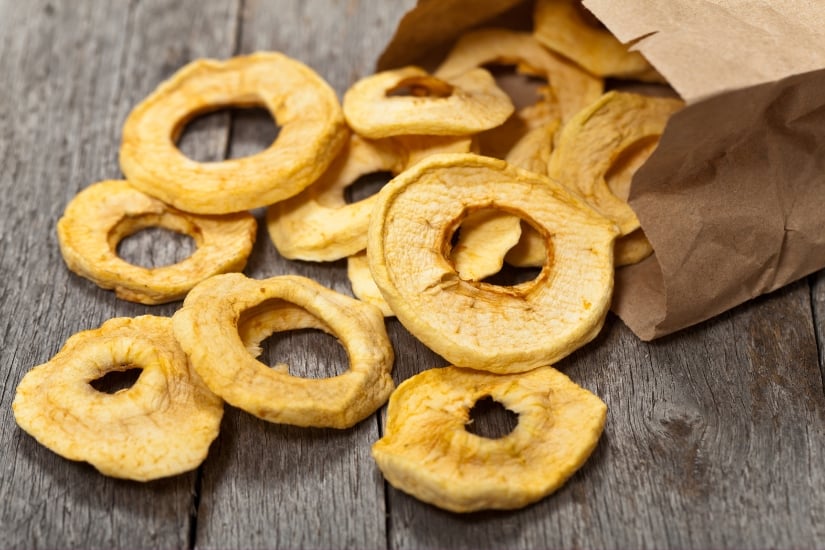
It’s important to store your dried apples correctly to ensure that they keep their crunchy texture and flavor for months and reduce the chance of mold or spoilage.
For shorter term storage you can store dehydrated apples in sealed plastic bags like Ziploc storage bags. Because the bags will be opened and closed often, they aren’t the best for long term storage.
For longer storage, use glass jars with airtight lids. Using a vacuum sealer can extend the life of your dehydrated apples as well.
Store your dried apples in a cool, dark place such as your pantry or cupboard, for the longest shelf life.
With proper storage, dehydrated apples should last at least a year- if you don’t eat them first!
Ideas for Using Dehydrated Apples
Use your dehydrated apples in a variety of delicious recipes! From tasty snack mixes to tantalizing desserts, there’s no limit to what you can do with them. Here are a few ideas for using dehydrated apples:
- Try adding them to trail-mixes
- Add them into your favorite granola
- Chop them and add them into oatmeal
- Chop them and add them into baked goods like cookies or quick breads.
- Add to apple cider
- Simmer them with water and cinnamon for a topping for pancakes, waffles, or ice cream.
Or just eat them fresh as a delicious snack!
Just remember, dried fruit is denser and less filling than whole fruit. They contain more sugar, calories, and fiber per cup compared to fresh fruit. So if you’re eating a lot of dried apples be sure to increase your water intake as well.
Dehydrating Apples FAQ
How much dried apple is equal to one fresh apple?
1 oz of dried apple equals 1 medium size apple.
Should you remove the skin before dehydrating apples?
You don’t have to. I prefer to peel apples before dehydrating because the skin gets tough once dry, but feel free to leave it on!
How long does it take to dehydrate apples?
Using an electric dehydrator, it can take anywhere from 6 hours to 24 hours depending on the conditions of your home.
How do you rehydrate dried apples?
Soak 1 cup of dried apples in 1 cup of hot water or apple juice. Allow them to soak for 1 hour before draining any remaining liquid and proceeding with your recipe.
Now that you know how to dehydrate apples, get out there and enjoy this healthy, delicious snack!
Apples are a great source of fiber and vitamins, and they make a satisfying crunch when you need a quick snack.
Dehydrated apples are easy to store and transport, so they’re perfect for on-the-go snacking.
With just a little preparation, you can have healthy dehydrated apples anytime, anywhere.
Still have apples to preserve? Make applesauce! Here’s how to Make and Can Applesauce at Home.