If you’ve ever had seedlings start out strong and then suddenly shrivel and die, you know how discouraging damping off can be.
One year, I had a full tray of more than 50 brassica seedlings—broccoli, cabbage, and cauliflower—that looked perfect at first. They germinated well, were growing evenly, and everything seemed on track. Then they started collapsing and shriveling at the soil line, one by one.
This site contains affiliate links. If you make a purchase using one of these links, I may earn a commission. Please see my disclosure page for more information about cookies collected and our privacy policy.
Damping off can feel like a failure after you’ve already done the work of getting seeds to sprout. But this is a common seed-starting problem, and it usually comes down to conditions, not effort.
Damping off is caused by fungi or molds that thrive in cool, wet conditions. It can prevent seeds from emerging at all, or it can hit seedlings right after they sprout. Once a seedling is affected, it rarely recovers—so prevention is the best approach.
What damping off looks like
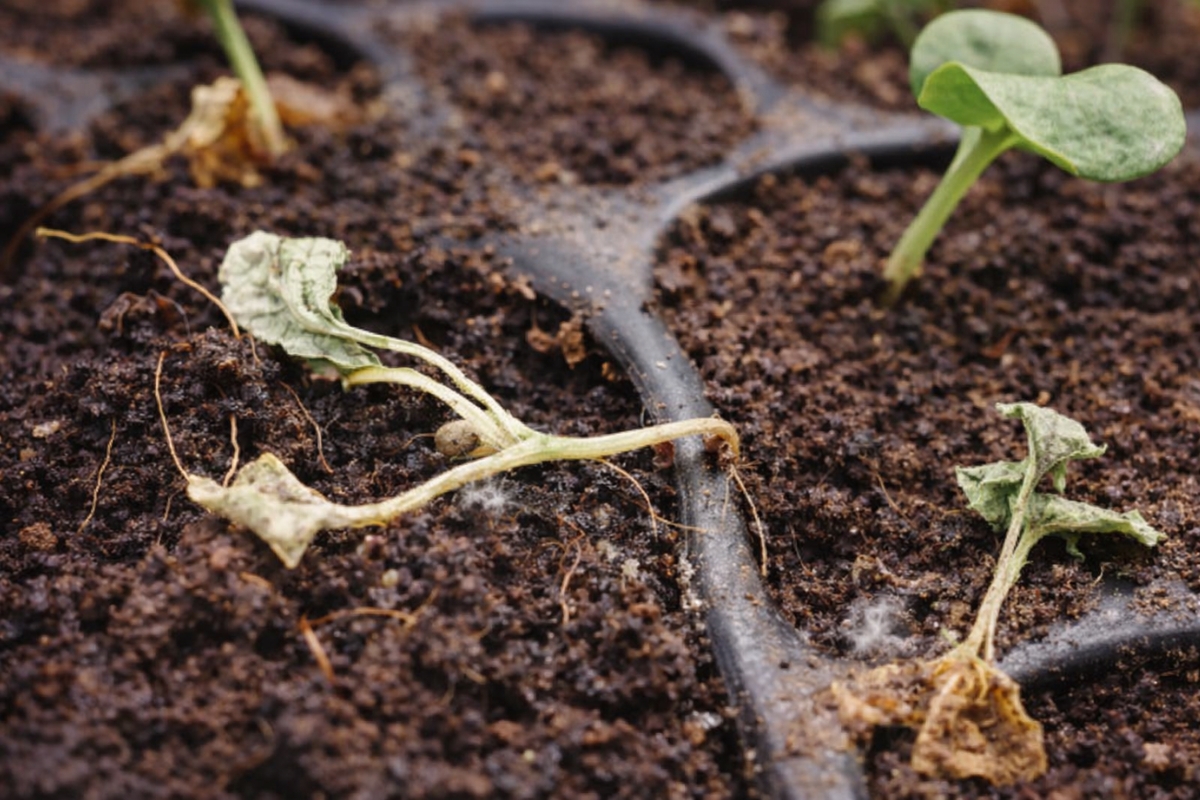
Damping off can show up a few different ways, but it often happens fast. One day the tray looks fine, and the next you’ve got seedlings toppling over or shrinking down at the soil surface.
Common signs include:
- Seeds that never germinate
- Seedlings that sprout and then suddenly collapse
- Stems that look pinched, thin, water-soaked, or discolored near the soil line
- Soft, mushy growth
- White, webby-looking growth on the soil surface or on seedlings (especially with high humidity)
If you’re seeing that classic “pinched at the soil line” look, you’re not alone. It’s one of the most common seed-starting heartbreaks.
Ready to keep damping off at bay? Here are 8 tips to keep your seedlings strong and thriving.
Start clean: containers, tools, and your setup
Damping off organisms can hitch a ride into your trays on containers, tools, or leftover potting media from previous seasons. Even tiny debris in a reused tray can carry problems into fresh soil.
Before you start seeds, take a few minutes to clean your seed-starting supplies. Washing trays, pots, and cell packs well (and removing old soil bits and residue) helps reduce what you’re bringing into the new season.
This isn’t about being perfect. It’s about giving your seedlings a cleaner start so they’re not fighting disease right out of the gate.
Use fresh, clean seed-starting mix
This is one of the biggest prevention steps.
Garden soil can contain small amounts of the organisms that cause damping off. That doesn’t mean your garden soil is “bad”—it just means it’s not the best choice for indoor seed trays, where warm, wet conditions can help pathogens take over.
Instead, start seeds in a fresh seed-starting mix (or pasteurized soil designed for starting seeds). Fresh mixes are made to drain well while still holding enough moisture for germination, and they reduce the chance of starting with unwanted pathogens in the tray.
Also important: don’t reuse old potting mix in seed trays. Even if it looks fine, it can carry over problems from last season.
Make drainage non-negotiable
Damping off thrives in wet conditions, so drainage is your friend.
Use trays and containers with drainage holes. If water can’t escape, it pools—especially in the bottom of cells—creating the exact conditions damping off organisms love.
Your seed-starting mix matters here too. A good seed-starting mix should be able to hold moisture without staying soggy. If water sits on the surface or doesn’t drain through well, that’s a sign conditions may stay too wet for too long.
Don’t overwater (this is where most people get tripped up)
Overwatering is one of the most common accelerants for damping off.
It’s easy to water “just in case,” especially when seeds are germinating and you’re trying to be a good plant parent. But damping off organisms are more active in wet soils, and constantly damp conditions make it easier for them to spread through the tray.
A simple way to avoid overwatering is to use the soil surface as your guide instead of watering on a schedule. Check the mix with your finger. If it still feels moist, hold off. If the surface feels dry to the touch, it’s time to water.
You can also water from below (bottom watering) to help limit overly damp conditions on leaves and the soil surface. This keeps moisture where the roots can access it without keeping everything wet on top all the time.
One more small detail that helps: use lukewarm or warm water for seedlings. Cold water can slow growth, and anything that slows growth can increase the opportunity for infection.
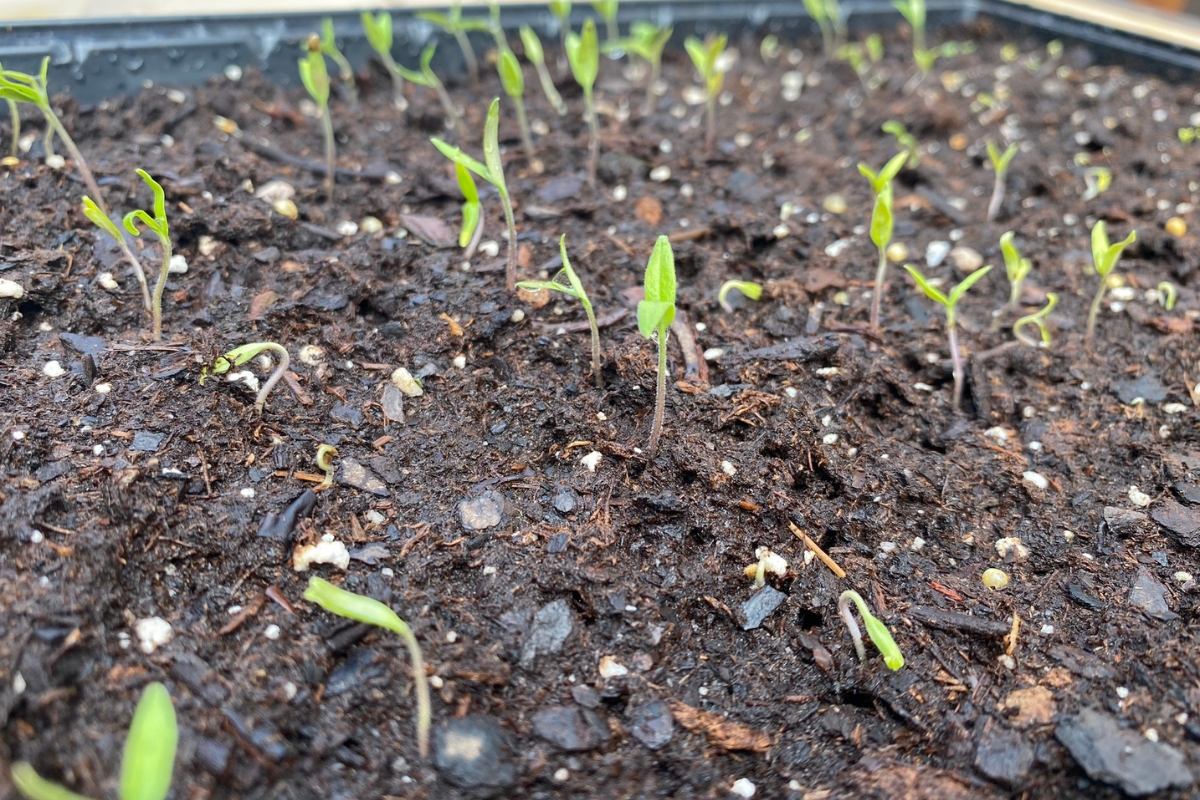
Plant seeds at the proper depth (and aim for steady, quick growth)
Planting depth matters more than many beginners realize.
Seeds planted at the proper depth tend to germinate more reliably and grow out of the early, vulnerable stage more quickly. When germination and early growth are slow, seedlings spend more time in the “risk zone,” where damping off is most likely to strike.
Following the depth on the seed packet is simple, and it helps your seedlings get moving sooner.
Start seeds at warmer temperatures (especially in cool rooms)
Damping off organisms thrive in cool, wet conditions. And cool temperatures can slow germination and early growth—two things that make seedlings more vulnerable.
Starting seeds at warmer temperatures helps seedlings move through the most susceptible stage faster. If your home runs cool or you start seeds in a basement or chilly room, consider warming the soil to support steady germination and growth.
Some gardeners use a seed-starting heat pad under trays for this reason. The idea isn’t to make the tray “hot.” It’s to keep conditions in a comfortable range for germination so seedlings aren’t stalled in cold, damp soil.
Outdoors, damping off is more common when seeds are planted in soil that’s still too cool for optimal germination, or when weather turns cool and wet after planting. Waiting until soil temperatures are right for your crop can make a real difference.
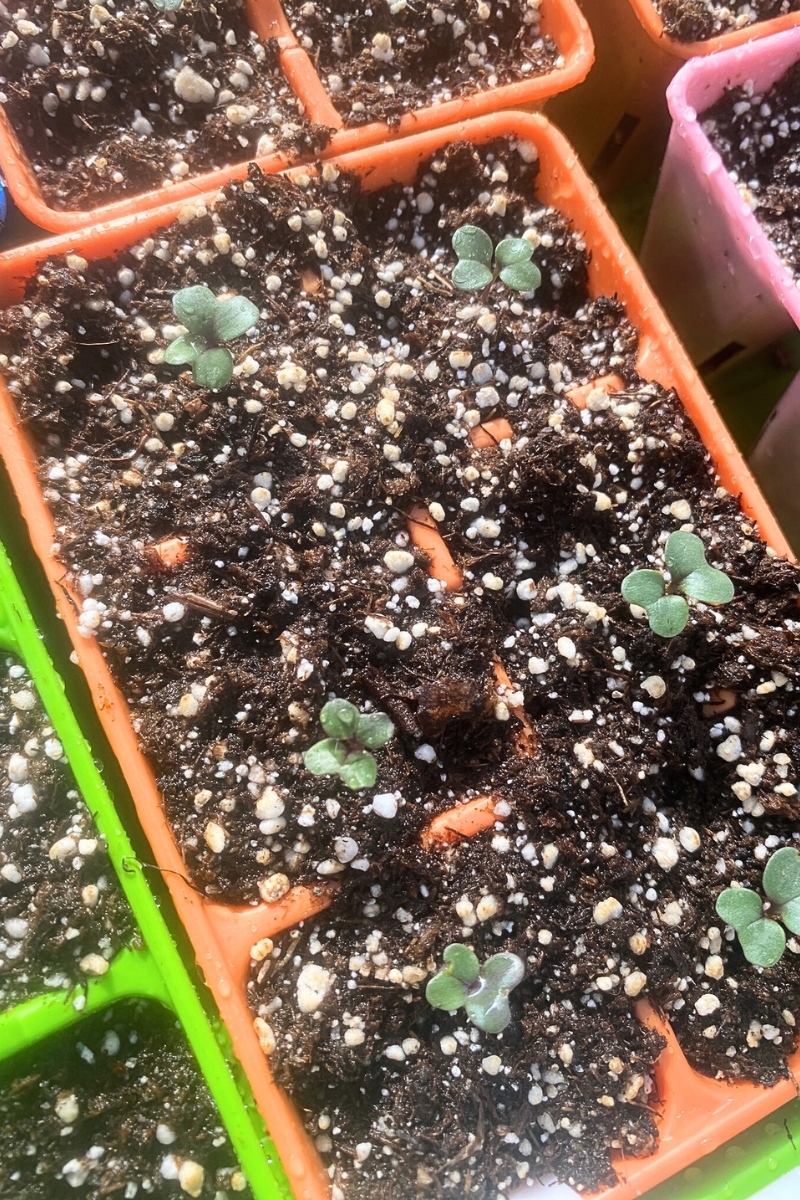
Don’t crowd seeds
When seedlings are packed too closely together, moisture lingers longer, air movement is reduced, and the tray stays humid. That’s not ideal when you’re trying to prevent a disease that loves cool, wet conditions.
Giving seeds and seedlings a little space helps reduce how quickly problems spread through an entire tray. It also makes it easier to spot trouble early and remove affected seedlings before it moves across the flat.
You don’t need a huge amount of space—you just want to avoid a dense “seedling carpet” where everything stays damp and touching.
Give seedlings enough light
Anything that slows seedling growth increases the opportunity for damping off.
Low light is one of those sneaky factors. Seedlings grown in weak light often stretch and stay thin, and that tender growth is more vulnerable during the early stage.
Providing strong, consistent light helps seedlings develop steadily. For many setups, a bright window can help, but seedlings often need more light than a window alone provides. Some gardeners use grow lights so seedlings get a consistent, adequate light source during those early weeks.
The goal is simple: keep seedlings growing steadily so they move through their most vulnerable stage as smoothly as possible.
If damping off shows up, start fresh (and don’t compost the leftovers)
This is the tough part, but it’s important. It’s hard to throw out all that work, the seeds, and the soil.
Once damping off takes hold, there isn’t a cure that brings affected seedlings back. If seedlings are collapsing and showing clear signs of damping off, it’s best to remove them and discard the potting mix they were growing in.
And as painful as it is, don’t put diseased seedlings or that potting media into your compost pile. The goal is to avoid carrying fungal spores forward into next season’s seed starting.
It’s not fun to start over. But starting fresh with better conditions is usually what leads to success the next time.
Damping off is one of those seed-starting problems that can make you feel like you did everything wrong—even when you didn’t. If you’ve had trays of seedlings start strong and then shrivel at the soil line, take a breath.
A cleaner setup, fresh mix, good drainage, and careful watering go a long way, and once you dial those in, your seedlings have a much better chance of making it past that vulnerable stage.