Do you have a garden full of dill? Learn how to dry dill so you can enjoy that great dill taste in dishes and meals all year long!
My garden is full of dill (also known as dill weed). I love it because it’s a great companion plant for cucumbers– both in the garden and in pickles!
This site contains affiliate links. If you make a purchase using one of these links, I may earn a commission. Please see my disclosure page for more information about cookies collected and our privacy policy.
But I also grow it specifically to feed the butterflies. Dill is one of the foods of choice for Swallowtail Caterpillars, so it’s earned a place in both my flower garden and my vegetable garden.
Dill is a self seeding annual herb, and given the chance it will seed itself year after year all over the garden.
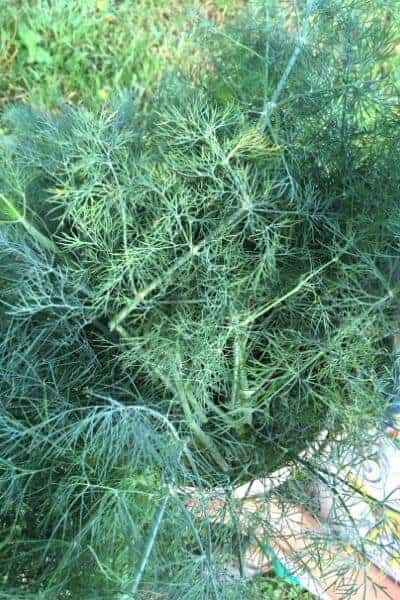
It’s easily recognizable with its feathery green stems and leaves and sweet aroma. While I may leave most of the dill in the gardens for the caterpillars and to attract beneficial insects, I do harvest some to preserve for use during the off season.
What’s the best way to preserve dill? By drying it! Keep reading to learn how to dry dill- so your spice cabinet goes empty!
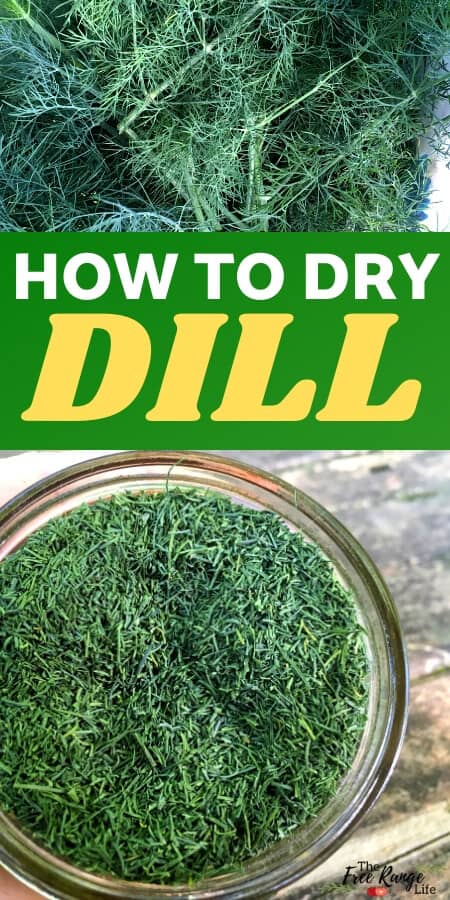
How to Dry Dill- An Easy Way to Preserve Fresh Dill
Before we begin, when drying dill, you want to go from harvest to dry as quickly as possible. Fresh herbs make the best dried herbs.
So harvest your dill when you have time to prep and process it for drying right away.
You need to start with fresh, clean herbs. Since we grow everything organic, we don’t pre-wash, but if your dill isn’t organic or if it’s been sprayed then you will need to wash it first.
Be sure to pull out any obvious weeds, grass, bugs, or eggs that you see before drying as well.
There are 2 different ways to dry dill: air dry or an electric dehydrator.
Method 1: Air Dry Dill
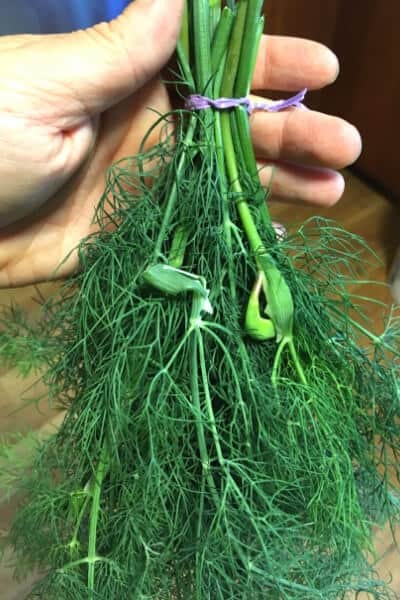
Air drying dill takes next to no active time on your part. All you have to do is harvest and hang!
Start by bunching your dill by the stems and secure the stems using a string or twist tie.
Hang your bunches upside down in an area that gets good air flow. It will take 2-3 weeks to dry completely.
Some notes about air drying dill (and air drying in general):
How long it will take to dry dill will depend on the conditions of your home. Things like humidity, temperature, etc can greatly affect how well your herb dries.
Check the dill daily to see how it’s going. Look for signs of mold too.
Also be sure to make sure your string or tie is secure, the stems will shrink as they dry so you might need to tighten it to prevent the drying dill from falling.
Once the leaves are completely dry and crunchy, you are ready to move on to the next step.
Method 2: Electric Dehydrator Dried Dill
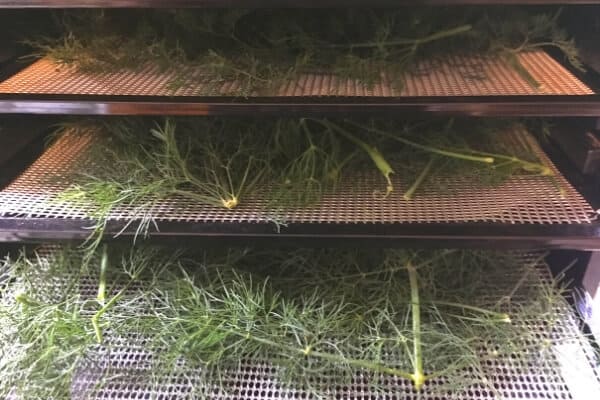
My preferred way to dry dill is by using an electric dehydrator. It’s a more reliable way to get dried dill that is uniformly dry in a quicker amount of time. My home is also very humid in the summers- mostly because we don’t have air conditioning- so air drying takes forever and even then it doesn’t work that well.
I have an Excalibur 9 Tray Food Dehydrator that I LOVE and use all summer long, but you can also check out my Dehydrator Buying Guide for other options. This dehydrator is perfect for drying herbs such as calendula, thyme, oregano, basil, and of course dill!
Set your dill stems on the dehydrator trays. It’s okay if the stems are touching, but try to keep mostly to a single layer on each tray. Dill dries pretty quickly, so it’s okay to have some overlap.
The main thing to remember when drying herbs it to keep the temperature low. Set your dehydrator to between 95-105F. NO HIGHER. High temperatures will destroy the nutrients and the smell of the herb (just one reason I don’t recommend using your oven to dry herbs).
It will take 4-10 hours to dry dill, depending on your dehydrator, your home’s temperature, and the humidity.
You will know when the dill is done when the leaves are shriveled and completely crispy. If you have some thick stems, sometimes those stems won’t feel dry, but since you will discard those it’s fine to turn off the dehydrator when the leaves are done.
Turn off the dehydrator and let the herbs cool for a few minutes before moving to the next step.
Prepping Dried Dill for Storage
Now it’s time to remove the leaves from the stems and crush your leaves.
This part can get kind of messy, so it’s best to work over a board, bag, or tray to catch some of the mess.
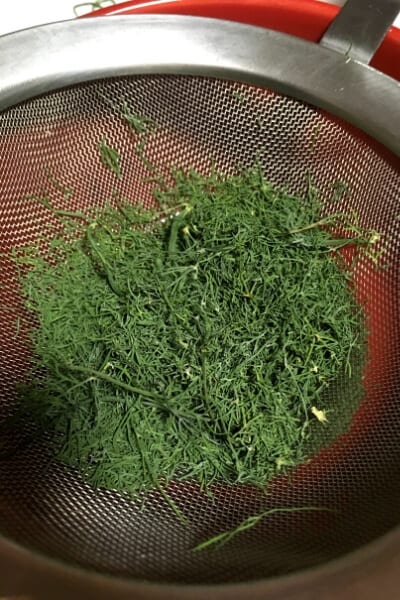
Take out a stem or 2 of dill and gently crush the leaves over a bowl. If they are sufficiently dry they will come of very easily and fall into the bowl below. Then discard the stems.
Keep working until you have removed all of the dried dill leaves from the stems.
Check your bowl for any stems that may have fallen and remove them as well. Then use your hands to crush the dill further. It should crumble very easily.
Note: Placing a sieve over the bowl is a great way to catch stems. Simply remove large stems and then use your hands to rub the herb through the strainer to crush it. Discard any remaining stems after the leaves have all been crushed through the strainer.
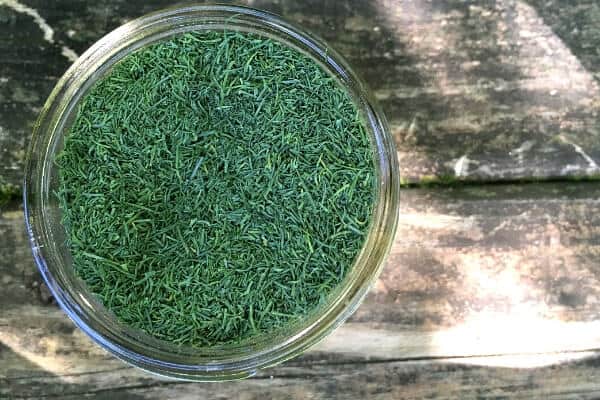
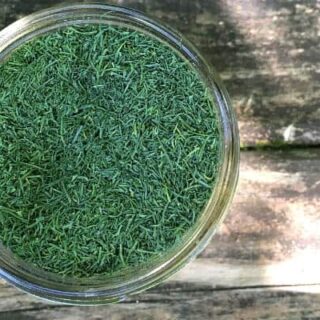
Place the dried dill in an air tight container. I store all of my herbs in glass mason jars with standard canning lids. I have found that plastic mason jar lids don’t keep the herbs as air tight as I’d like, so I stick with the metal lids and rings.
Then store your jar in your spice cabinet, cupboard, pantry or other dry, dark location and try to use within a year for the best flavor.
.
How to Use Dried Dill
While fresh dill is preferred, you can use dried dill any way you would use fresh dill. Remember that dried herbs have a more concentrated flavor than fresh, so you will use less. A general guideline is: 1 T of fresh dill = 1 tsp of dried dill. 2-3 teaspoons of dried dill is the equivalent of a head of fresh dill.
Here are a couple of ideas for using your dried dill:
- In soups
- In homemade potato salad
- In homemade Ranch Dressing
- On baked or grilled fish
- Tossed on roasted potatoes
FAQ About Drying Dill
Can I dehydrate fresh dill in the oven?
I wouldn’t recommend it. Oven’s don’t have a low enough temperature to dry herbs without damaging them. If you do have an oven that can stay at about 100 degrees and NO MORE than you can give it a shot.
Be sure to turn the trays often and check for burning.
Can I dry dill in the microwave?
No. You will be destroying the oils and nutrients in the herb. Plus you will likely cook your dill before it dries.
Are there other ways to preserve dill?
Yes! You can freeze it on its own, just chop and freeze in a single layer before placing in a freezer bag. You can also freeze dill in oil using ice cube trays.
You May Also Like:
10 Ways to Preserve Basil at Home
Companion Planting with Herbs in the Garden
The Best Companion Plants for Corn (Dill is one of them!)
10 Delicious Ways to Preserve Cucumbers
How to Dry Dill in the Dehydrator
Make your own dehydrated dill powder to use in recipes all year long! Having your own dried dill can save you a lot of money and prevents you from needing to run to the store in the winter months!
Ingredients
- Electric Dehydator
- Fresh Dill (store bought or home-grown)
Instructions
- Wash your dill well in cold water (optional, I don't do this if I am using my own home-grown dill from my organic garden).
- If washed, dry the dill thoroughly. A salad spinner is great for this job!
- Spread the dill on your dehydrator trays. Some overlapping is okay.
- Set the dehydrator between 95-105F
- Allow the dill to dry for 4-10 hours- or until completely dry and crisp.
- Turn off the dehydrator and allow the dill to cool completely.
- Remove the large stems and crush the dry dill slightly and store in a glass jar with metal lid. Use within a year.
Helpful tips as I learn to preserve food.
Very clearly describe. This is a wonderful healthy recipe resource. Thank you for putting it together!